
Behind the Scenes: Hand Fabrication
Hello!
Have you ever wondered what actually happens between a rough idea on paper and a finished piece of fine jewelry?
In this series I’m opening up my studio doors and taking you step-by-step through the raw, authentic making process. We’ll follow specific pieces from start to finish—exploring the tools, technique, math, and patience that go into creating handmade jewelry.
We’ll dive into three distinct fabrication methods:
Hand Fabrication: Shaping, forging, and soldering directly from sheet metal and wire.
Lost-Wax Casting: Carving organic forms in wax and transforming them into precious metal.
Precious Metal Clay (PMC): Sculpting with fine silver clay before firing it in the kiln.
Along the way, I’ll be sharing bench tips, traditional tools (some passed down through my family), and even a few secrets hidden within the designs.
First up: Hand Fabrication! Let’s take a look at where it all begins—right at my father’s 75-year-old workbench.
Pull up a stool and follow along—I’m so excited to share this journey with you!
-Nanette
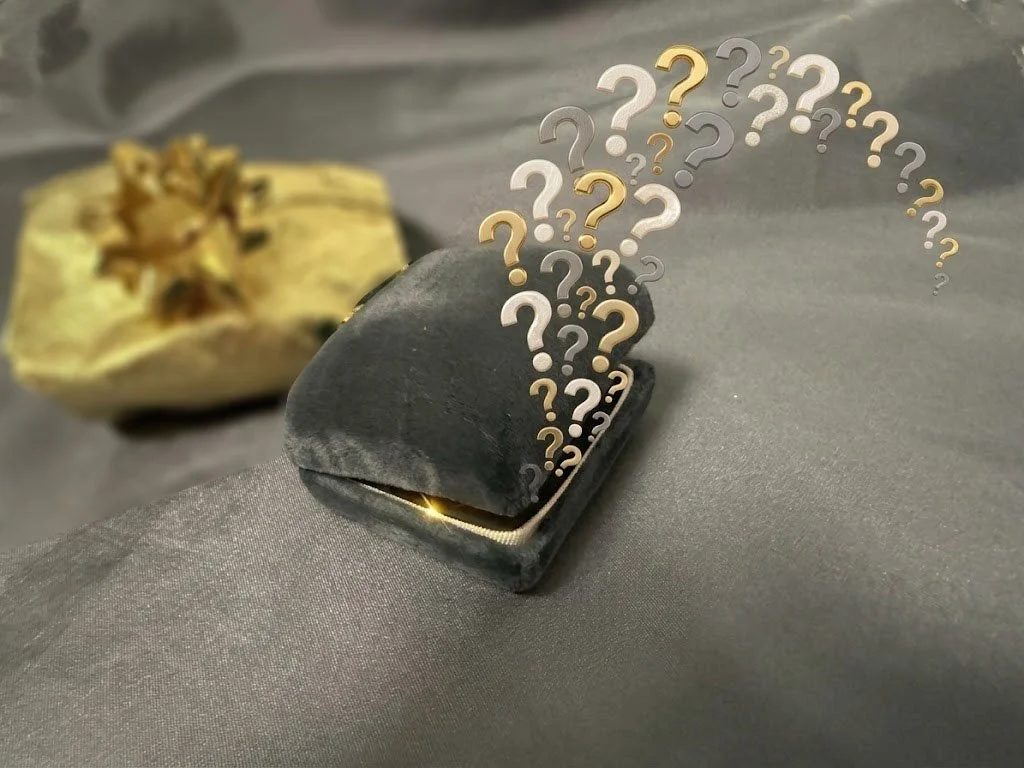
What are we going to be making in this hand Fabrication series?
Behind the Scenes Part 2: Where Inspiration begins
Inspiration comes in many forms, and it's always the first step in creating a piece. Sometimes it’s a piece of wood or rock I see in nature, a shadow cast on the sidewalk, or the way light reveals an unusual shape or structure. Other times, it begins with a gemstone that is simply begging to adorn someone. And sometimes, it comes straight from my mind's eye—an out-of-the-blue idea that I try to capture in my sketches.
No matter how it comes to me, I'm always glad when it strikes, because it gives me a starting point—something I can build on as I move into the next phase.
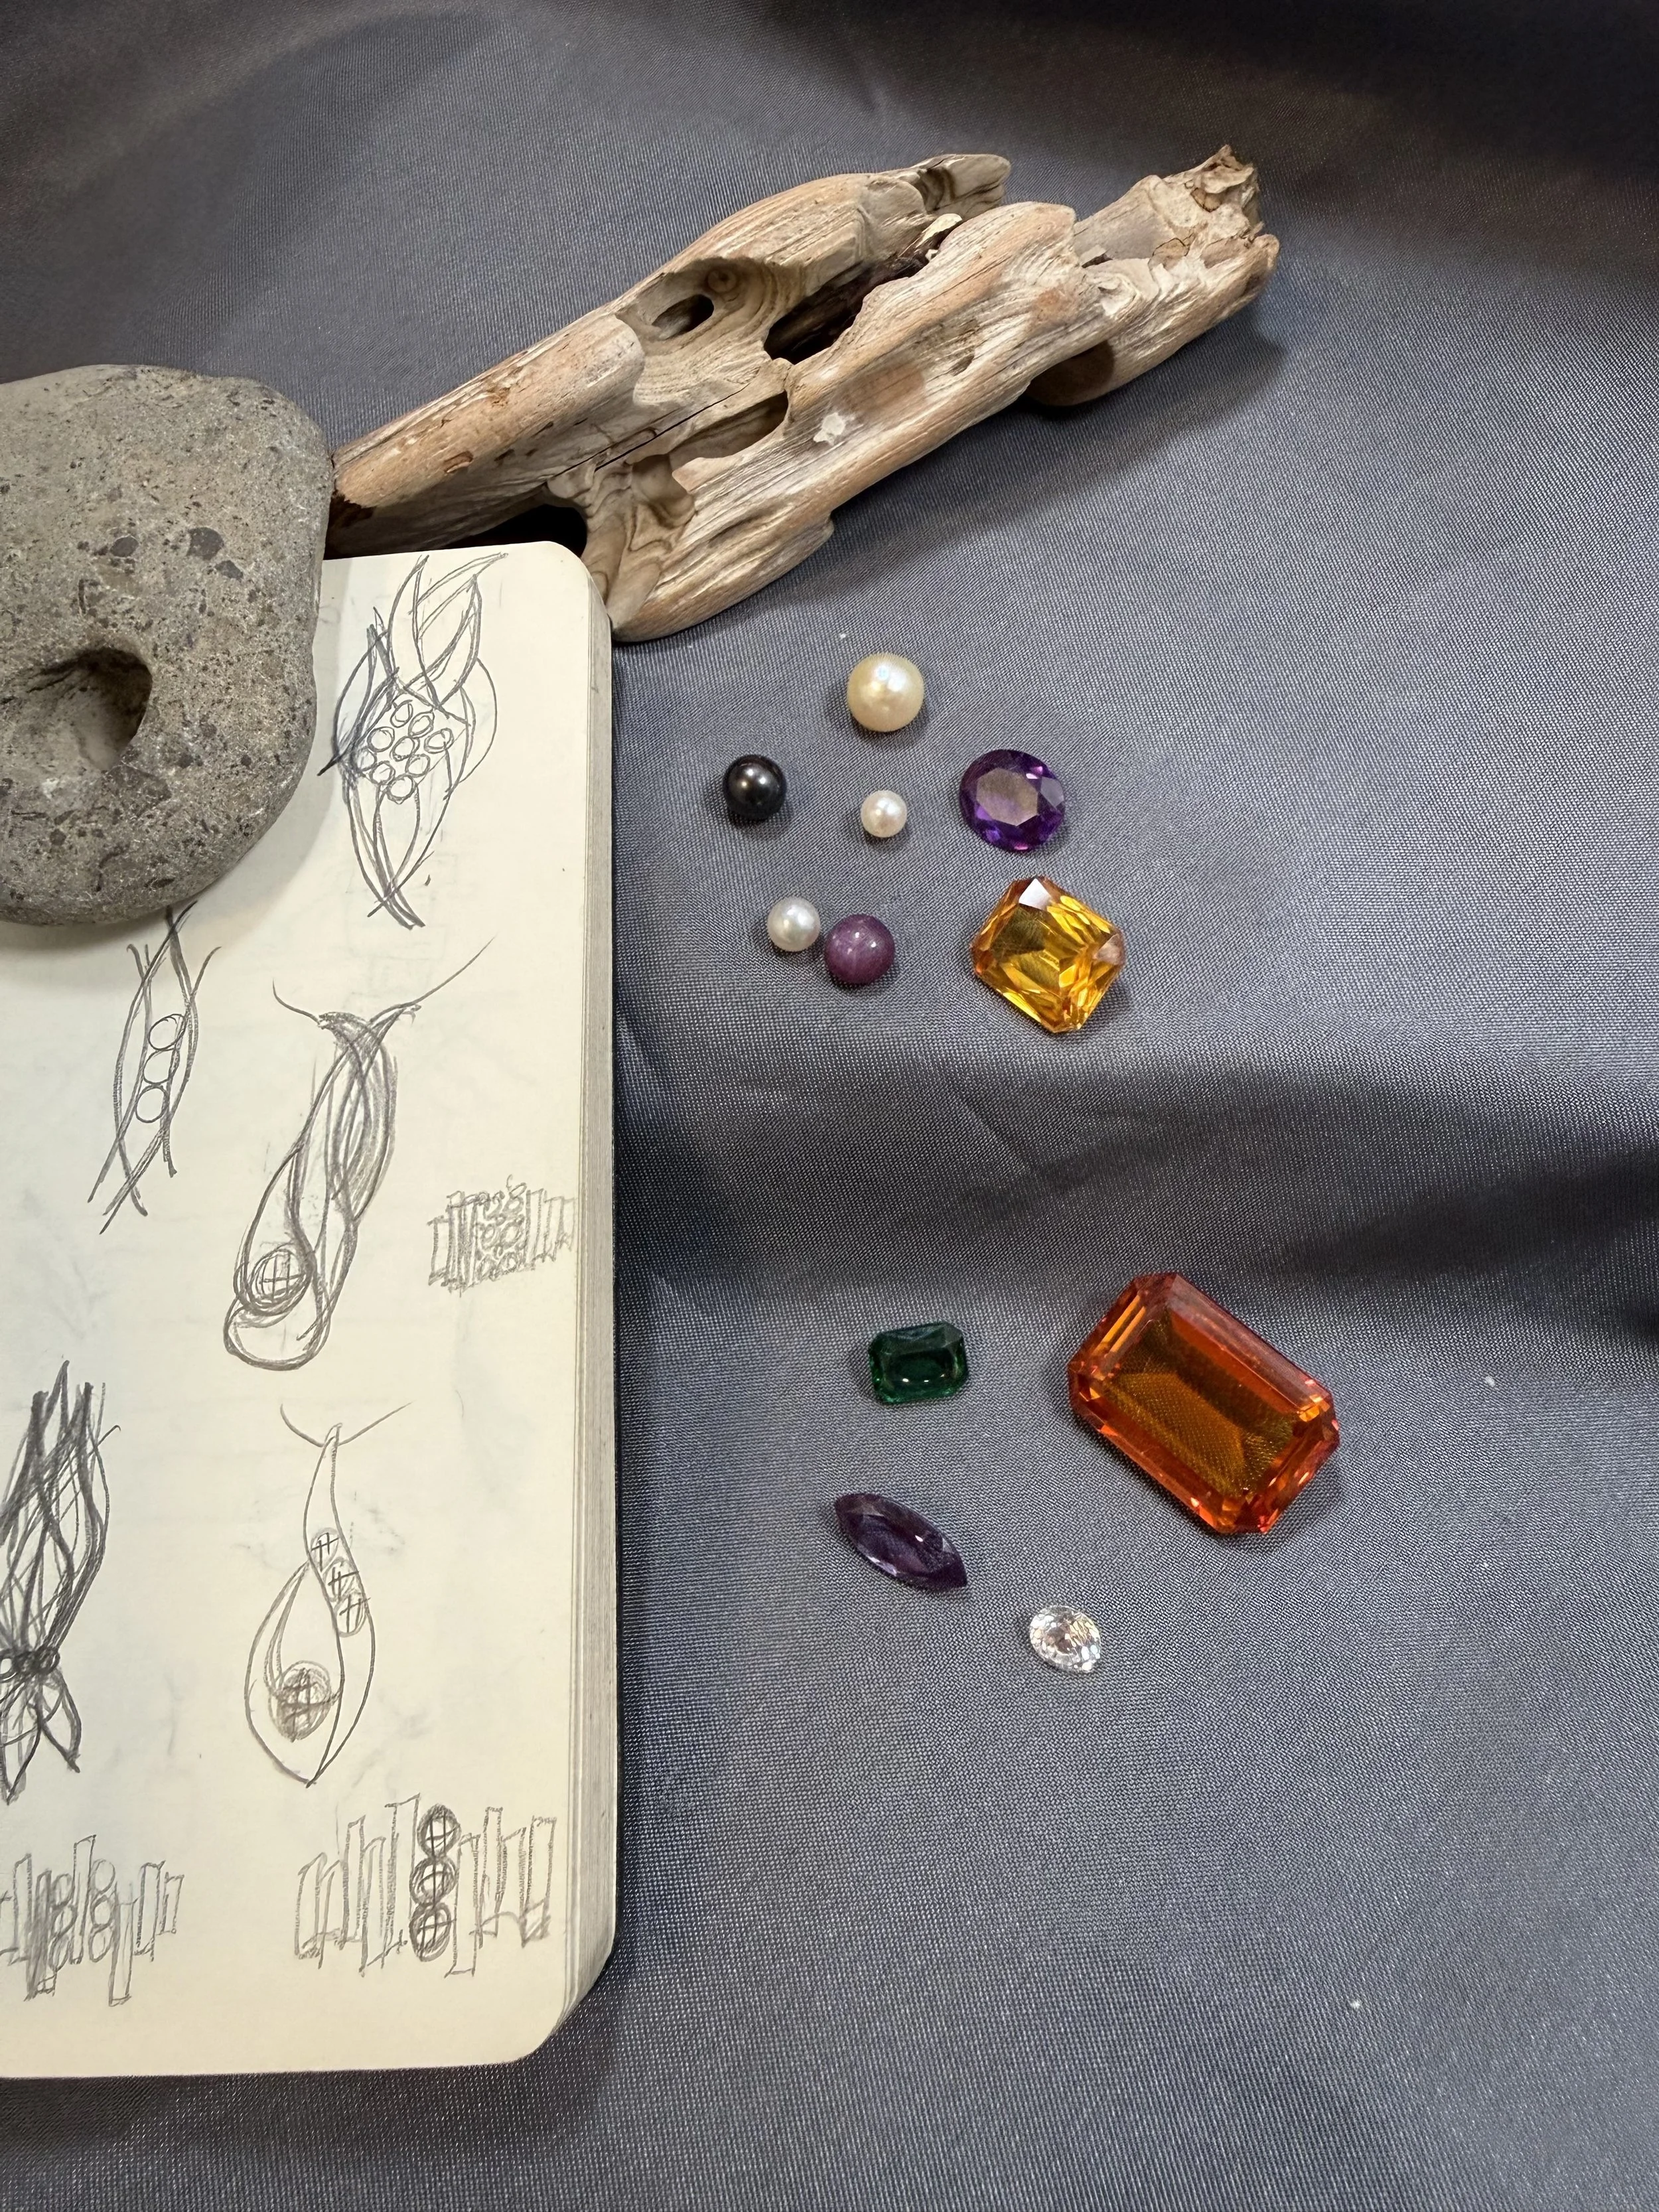
Sources of inspiration: nature, gems, shapes and designs.
Behind the Scenes Part 3: Initial Design Questions
Designing jewelry may sound straightforward: simply draw it out and make it. However, there are many considerations to explore at this stage. Is it going to be a pendant, earrings, or a money clip? Will it feature gemstones, pearls, or diamonds? Which metal will I use, and how will it be formed—carved from wax, or fabricated directly from sheet metal and wire?
These questions are essential because every element has to work together, especially when it comes to durability. Jewelry worn only on special occasions allows for more leeway, accommodating elaborate settings or more delicate gemstones. By contrast, a ring intended for daily wear shouldn't catch on clothing or feature a gemstone sensitive to household chemicals or scratches. Earrings need to be lightweight enough to wear comfortably all day.
Only once all of these factors are balanced do I begin bringing the piece into three dimensions.
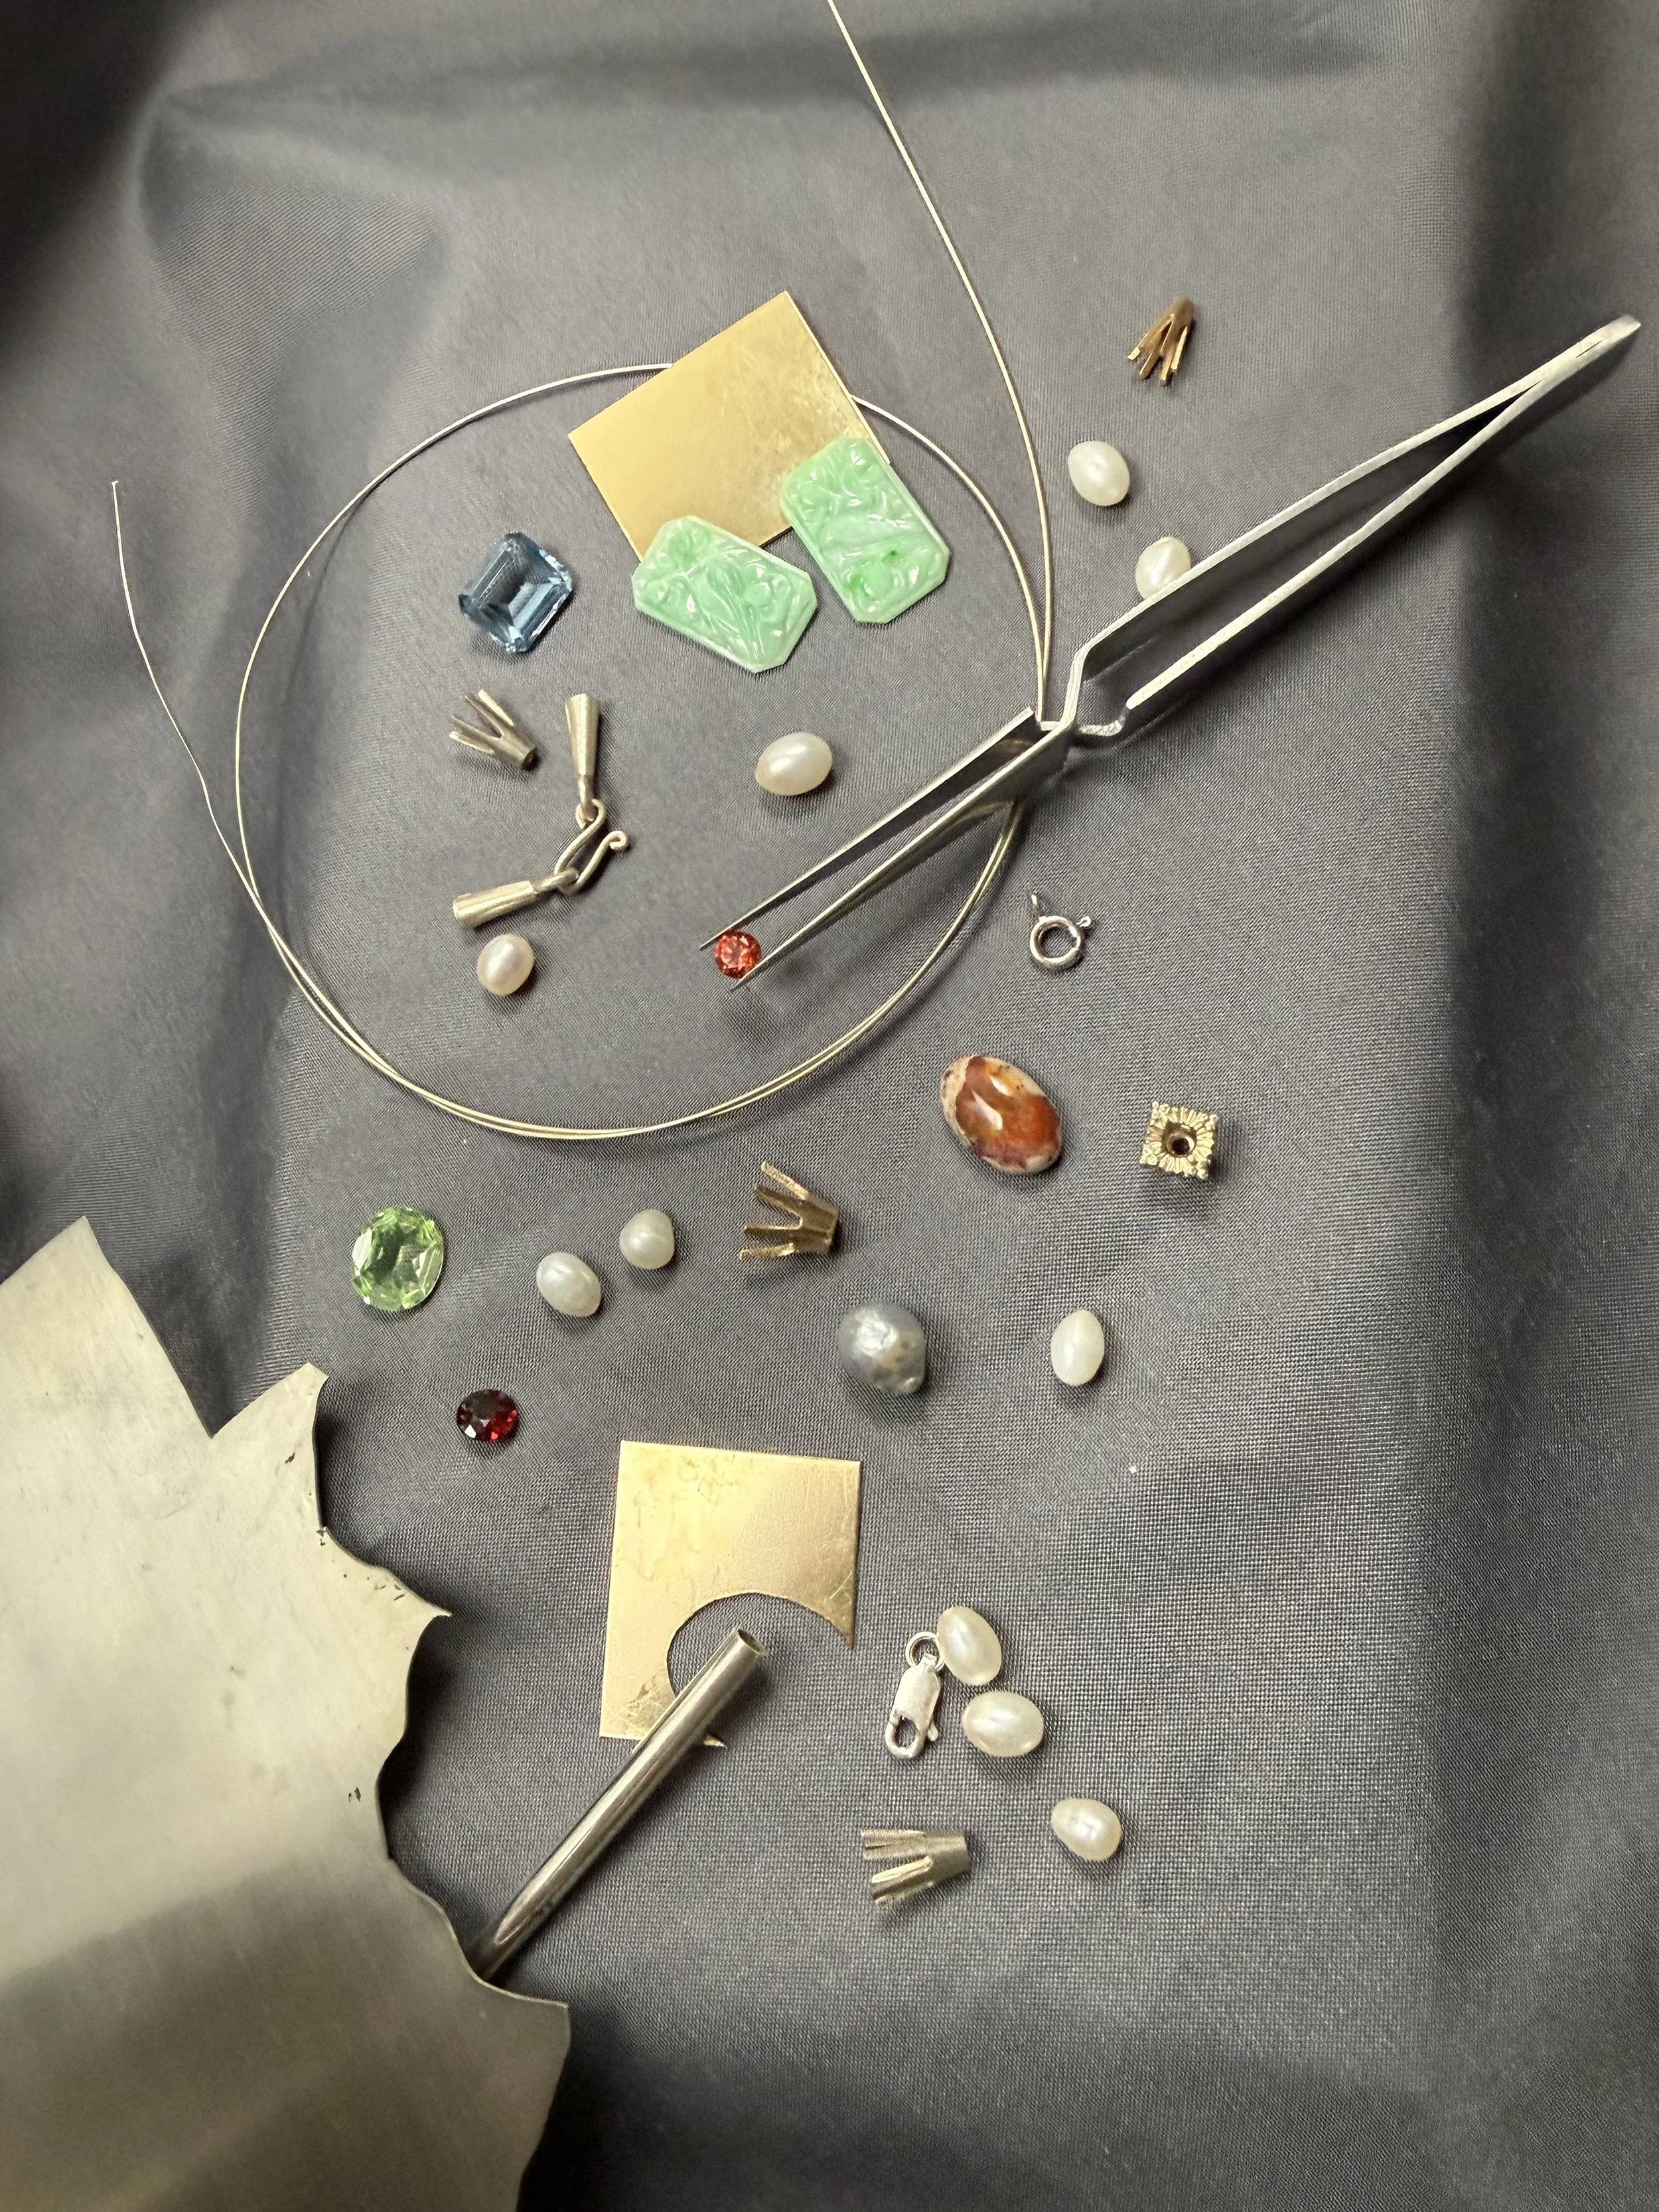
Choices and decisions are made at this stage.
Behind the Scenes Part 4: Hand Fabrication
The first piece I want to share with you is built using hand fabrication.
Fabrication means building a piece directly from raw materials that can be cut, bent, and shaped—like sheet metal and wire. It also includes functional components like prongs, bails, chains, and clasps, which are known as "findings".
While it’s possible to forge and fabricate every single finding entirely by hand, that level of labor is usually reserved for special or highly intricate designs. Here is a look at several hand-fabricated components for this project laid out on the bench, waiting to be soldered and joined together into the final piece.
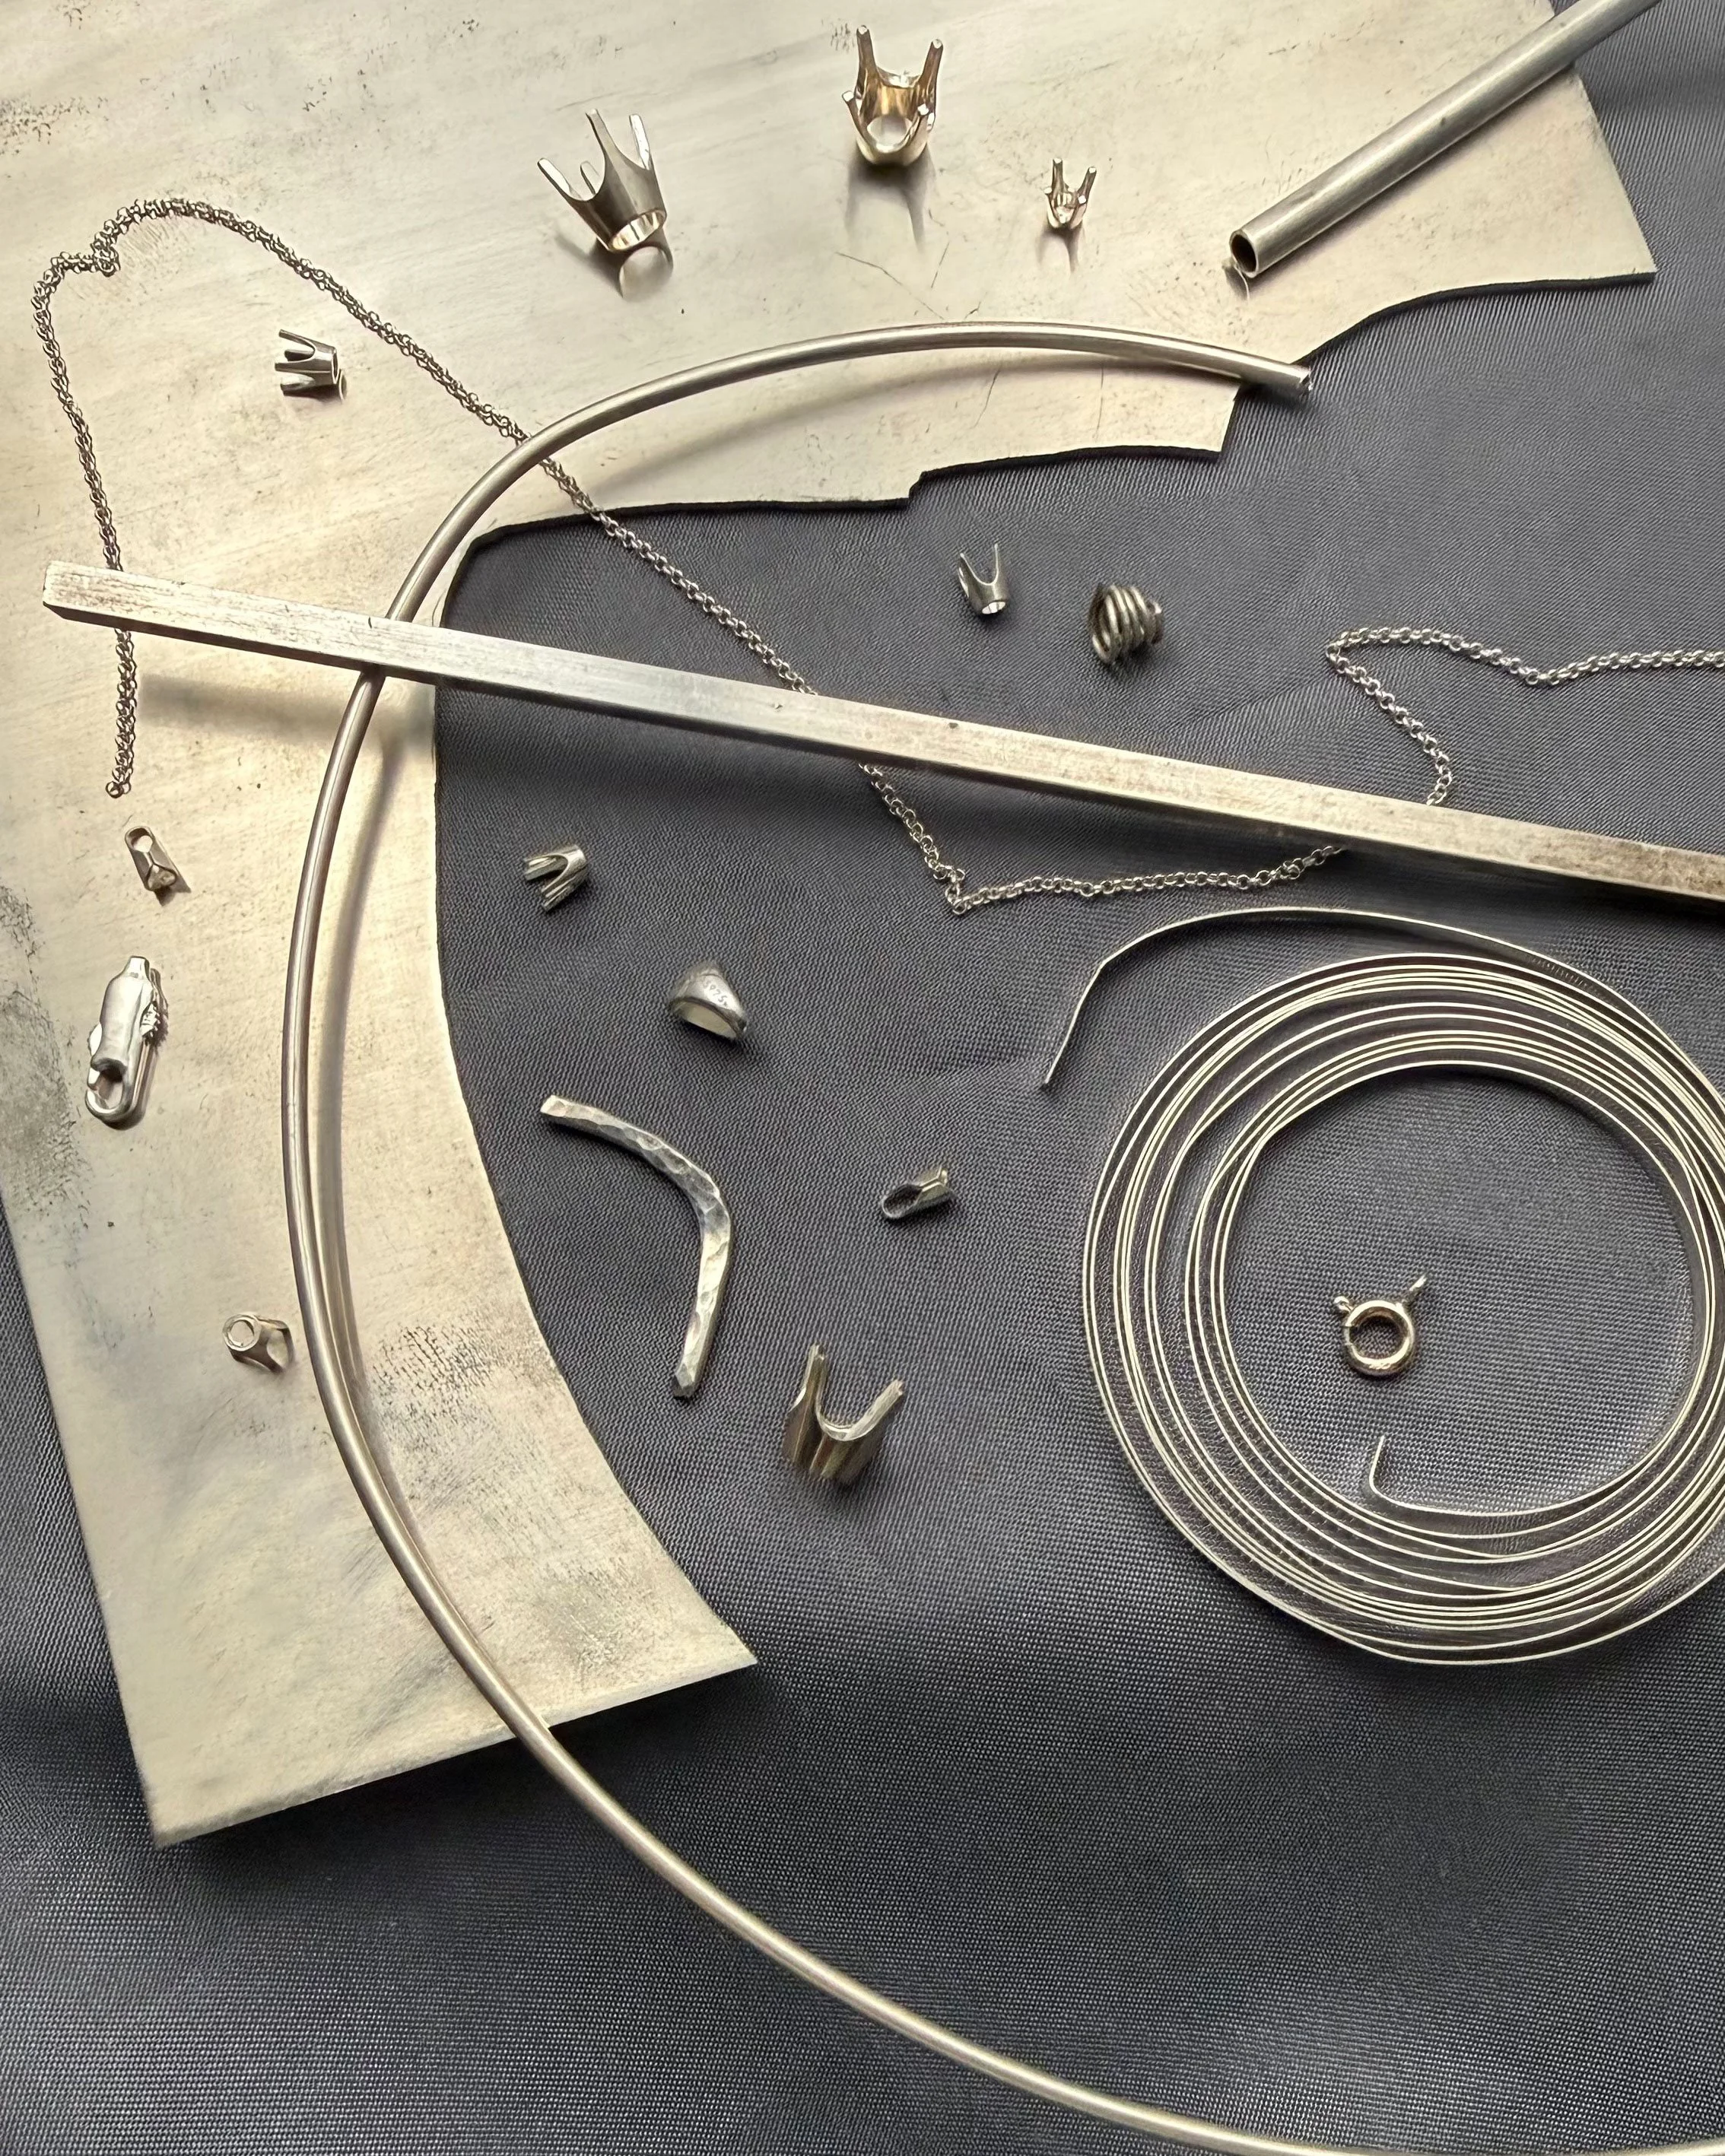
Choose and gather the materials for the piece.
Behind the Scenes Part 5: It’s (Almost) Time for Benchwork!
The initial planning is done—now let’s get to the bench!
Before we start cutting metal, I want to share a little about where the magic happens. This bench belonged to my father, who built it roughly 75 years ago. If it could talk, oh, the wisdom it would reveal! I find so much comfort sitting here, looking at every notch, hole, hook, and drawer he crafted, knowing each one was made with purpose. I may not know the reason behind every single feature yet, but as I work, I constantly discover how handy they are. It feels like a part of my dad is right here with me, guiding my hands every time I sit down.
The piece I’ve decided to fabricate was inspired this morning when I came across a brooch I made back in my high school jewelry class! It doesn't involve too many complex parts, but it does incorporate one of my favorite elements: a hidden secret known only to the wearer.
Here is a quick look at the sketch. If you think you have figured out the secret, Contact me and let me know!
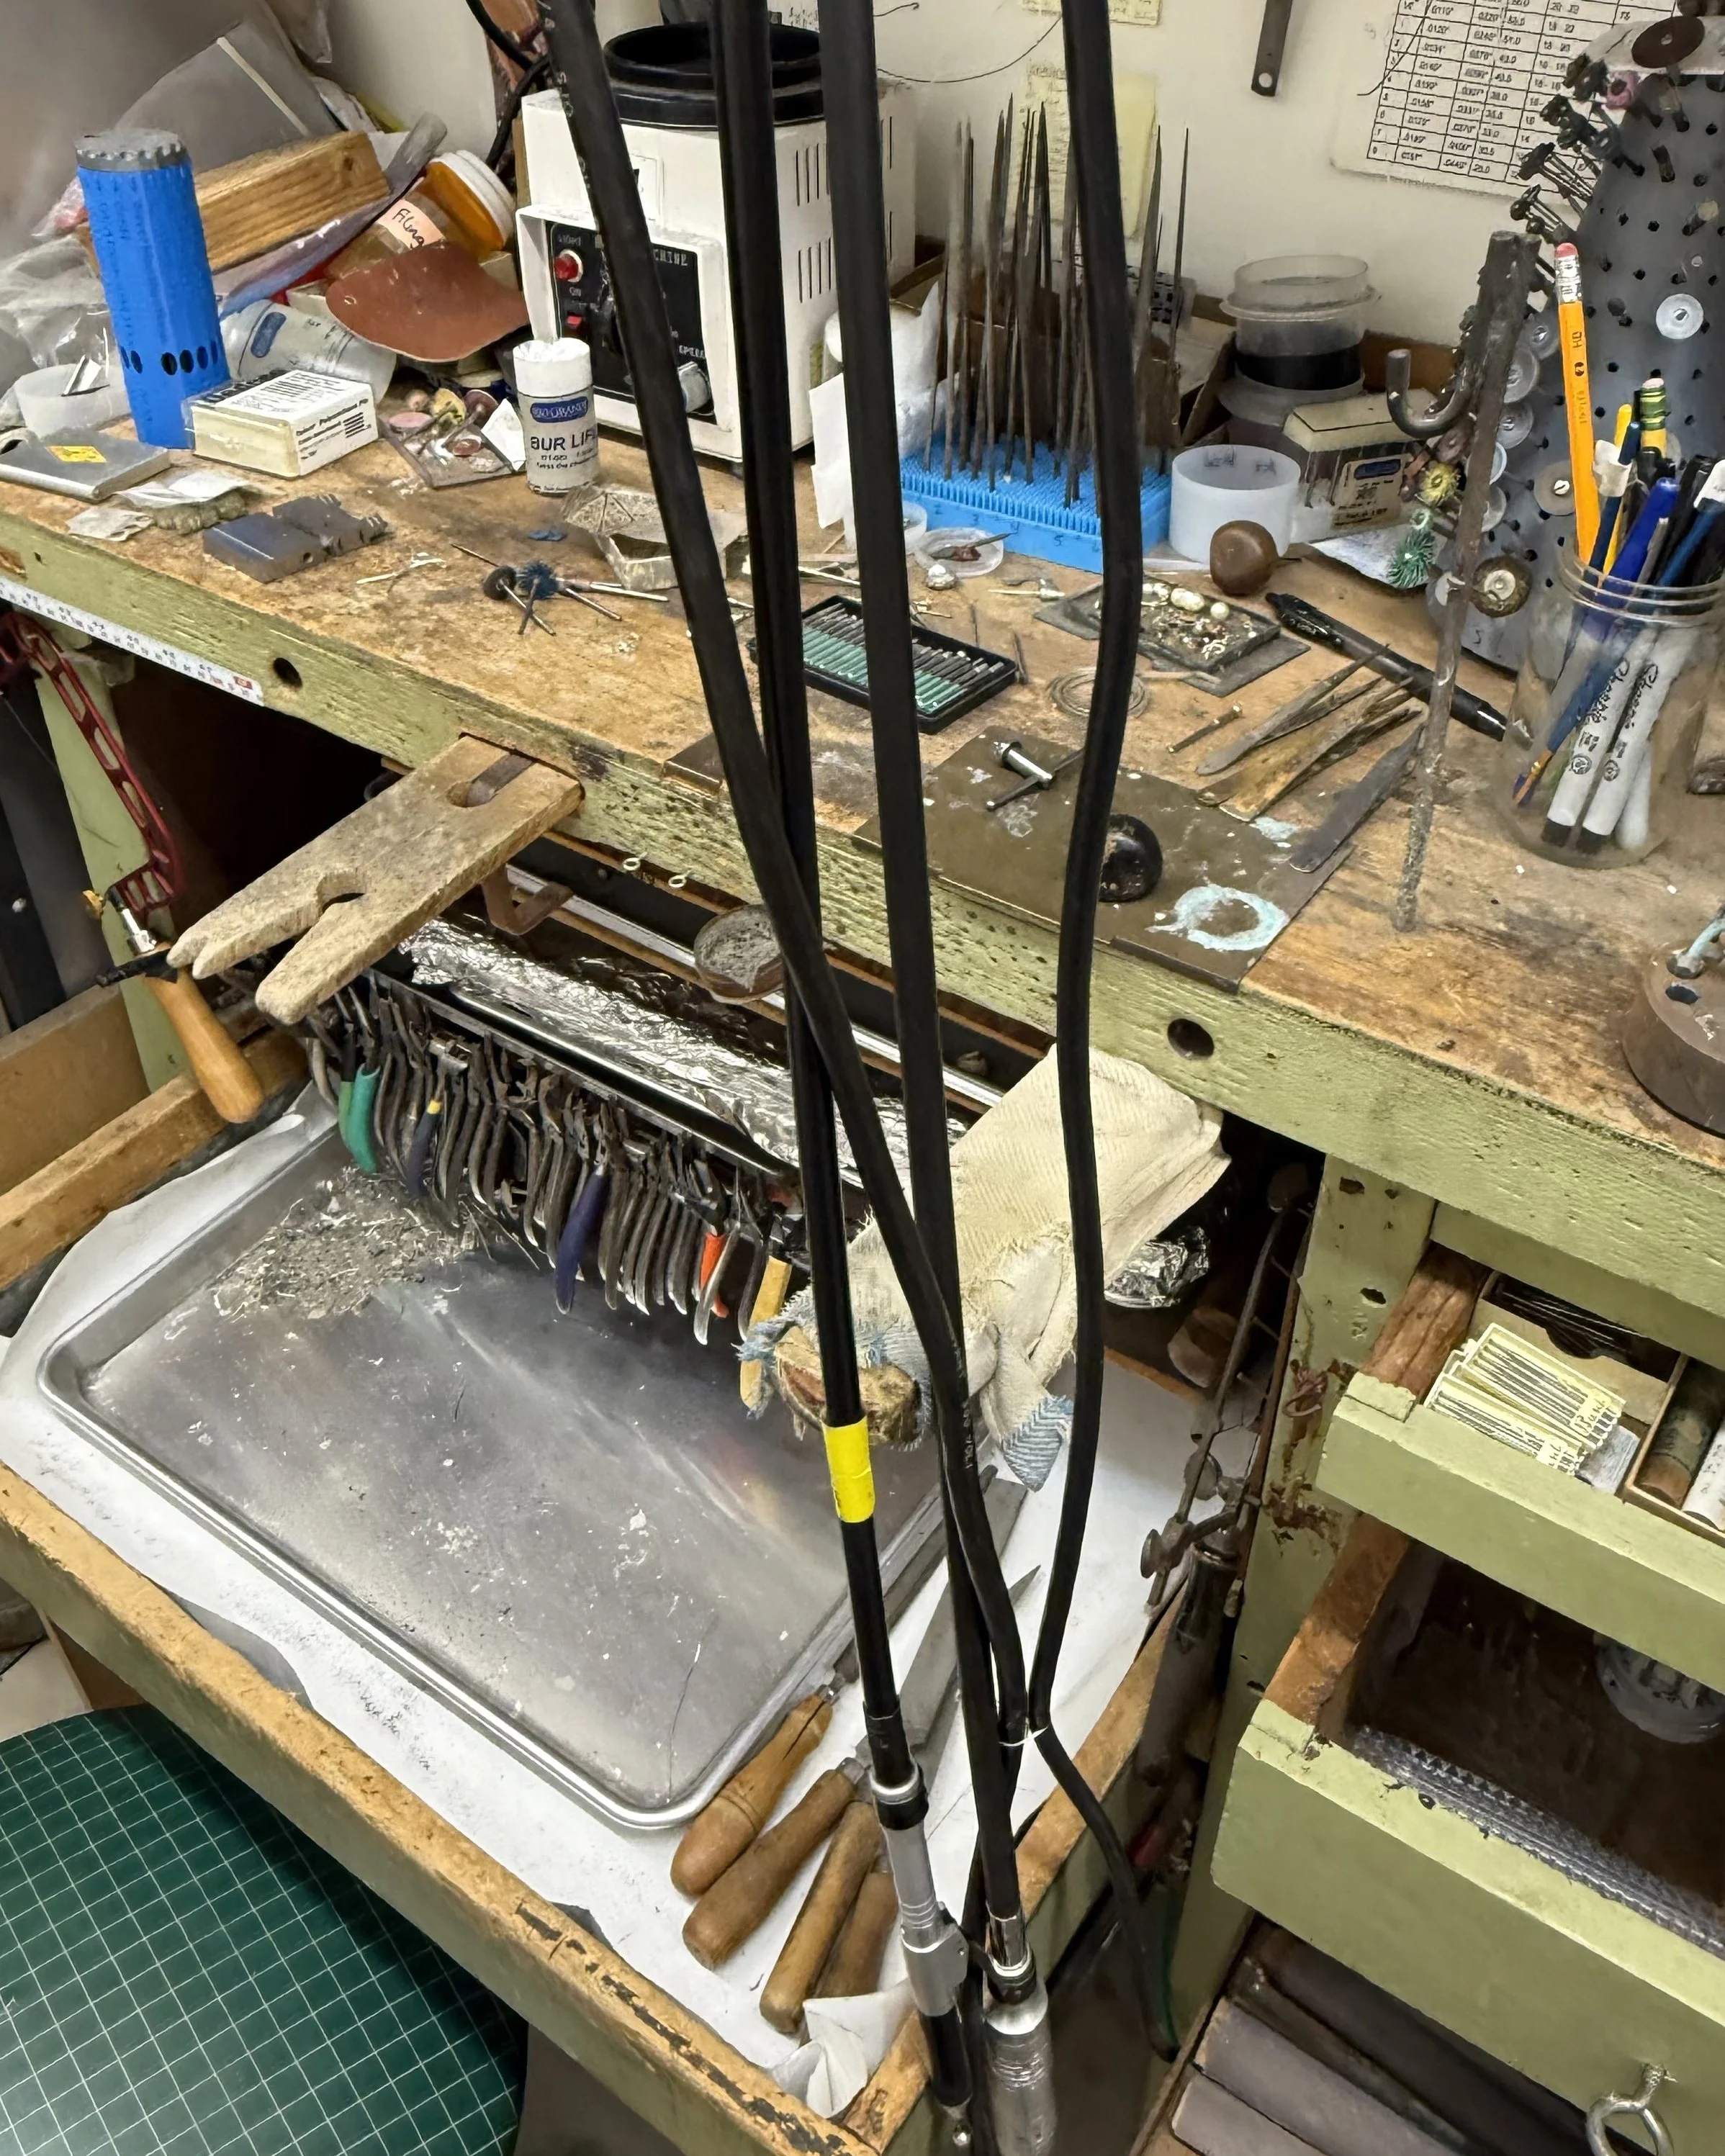
My father built this bench over 75 years ago.
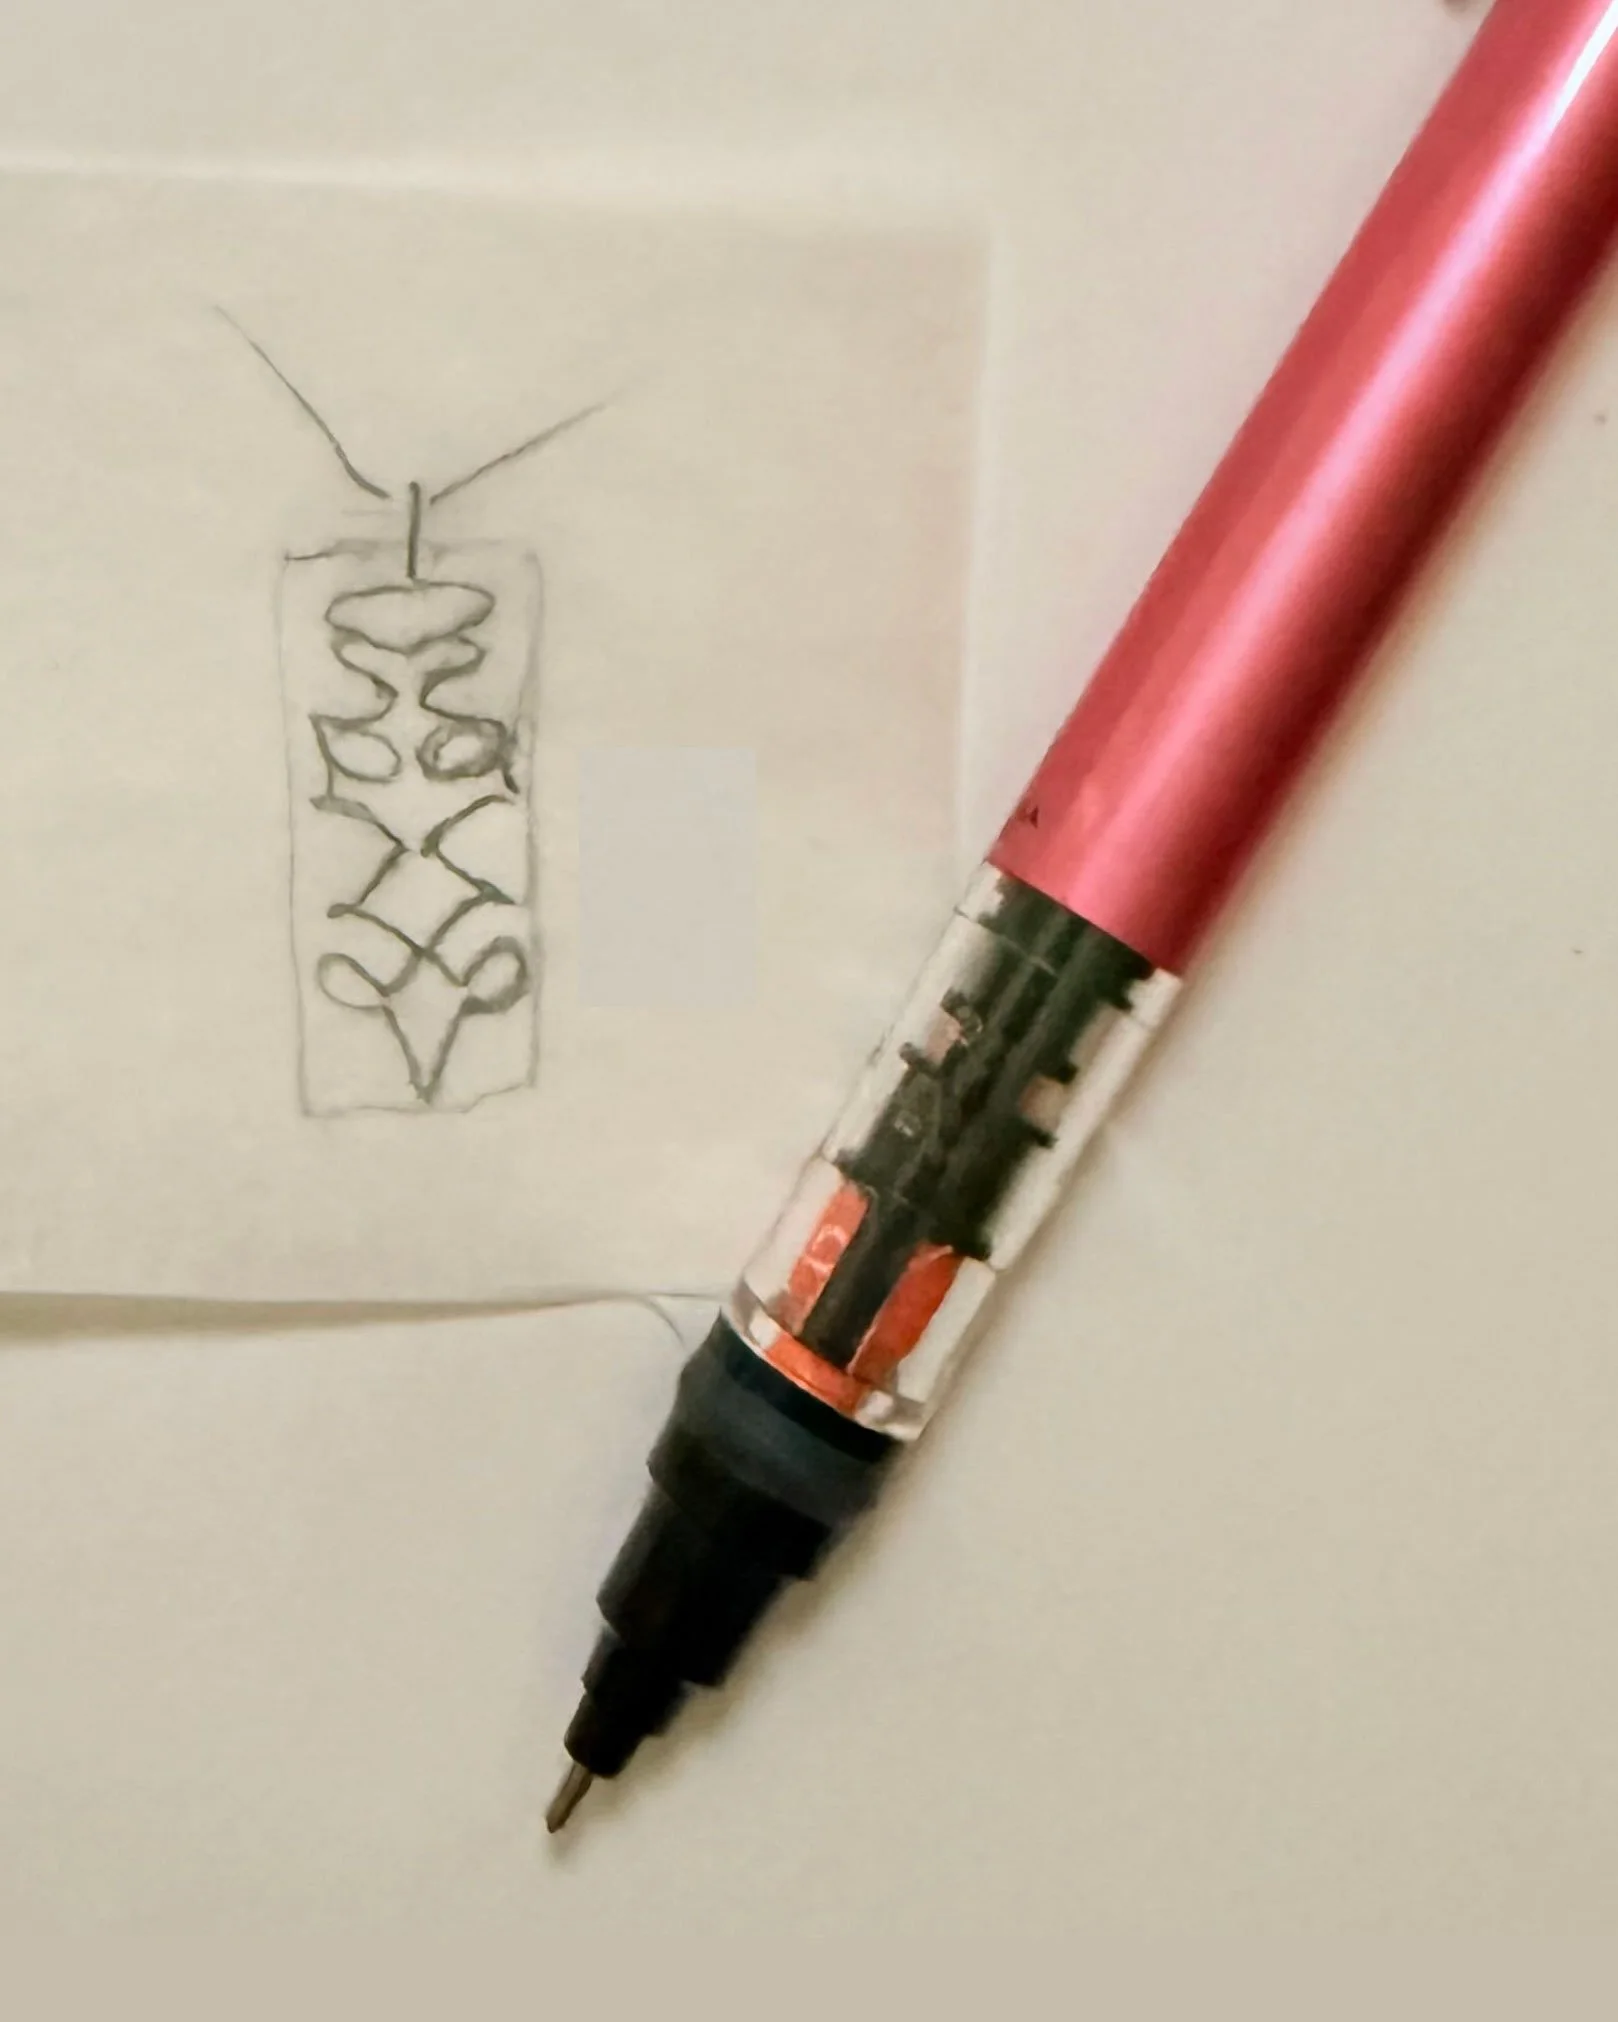
Do you see the secret?
Behind the Scenes Part 6: Sawing and Piercing
To saw a detailed design into sheet metal, I start by gluing a paper copy of the design onto a piece of metal slightly larger than the pattern. The extra metal gives me a secure grip while working.
First comes piercing—cutting out the interior shapes before sawing the outer outline. Because I can't simply saw into the middle of a solid sheet, I drill tiny guide holes inside each negative space. These holes must be just large enough to thread the saw blade through without distorting the design. I unscrew one end of my saw blade, thread the metal onto it, retighten the frame, and saw out the opening—repeating this process for every single interior cut.
Once piercing is complete, I can finally cut out the outer shape! Feeling the saw teeth grip the metal is so satisfying, but I have to go slowly. The blade is microscopic, but sharp. If I rush, one slip could ruin hours of work, forcing me to start all over.
Stay tuned—next up, I'll be soldering this pierced design to a backing plate!
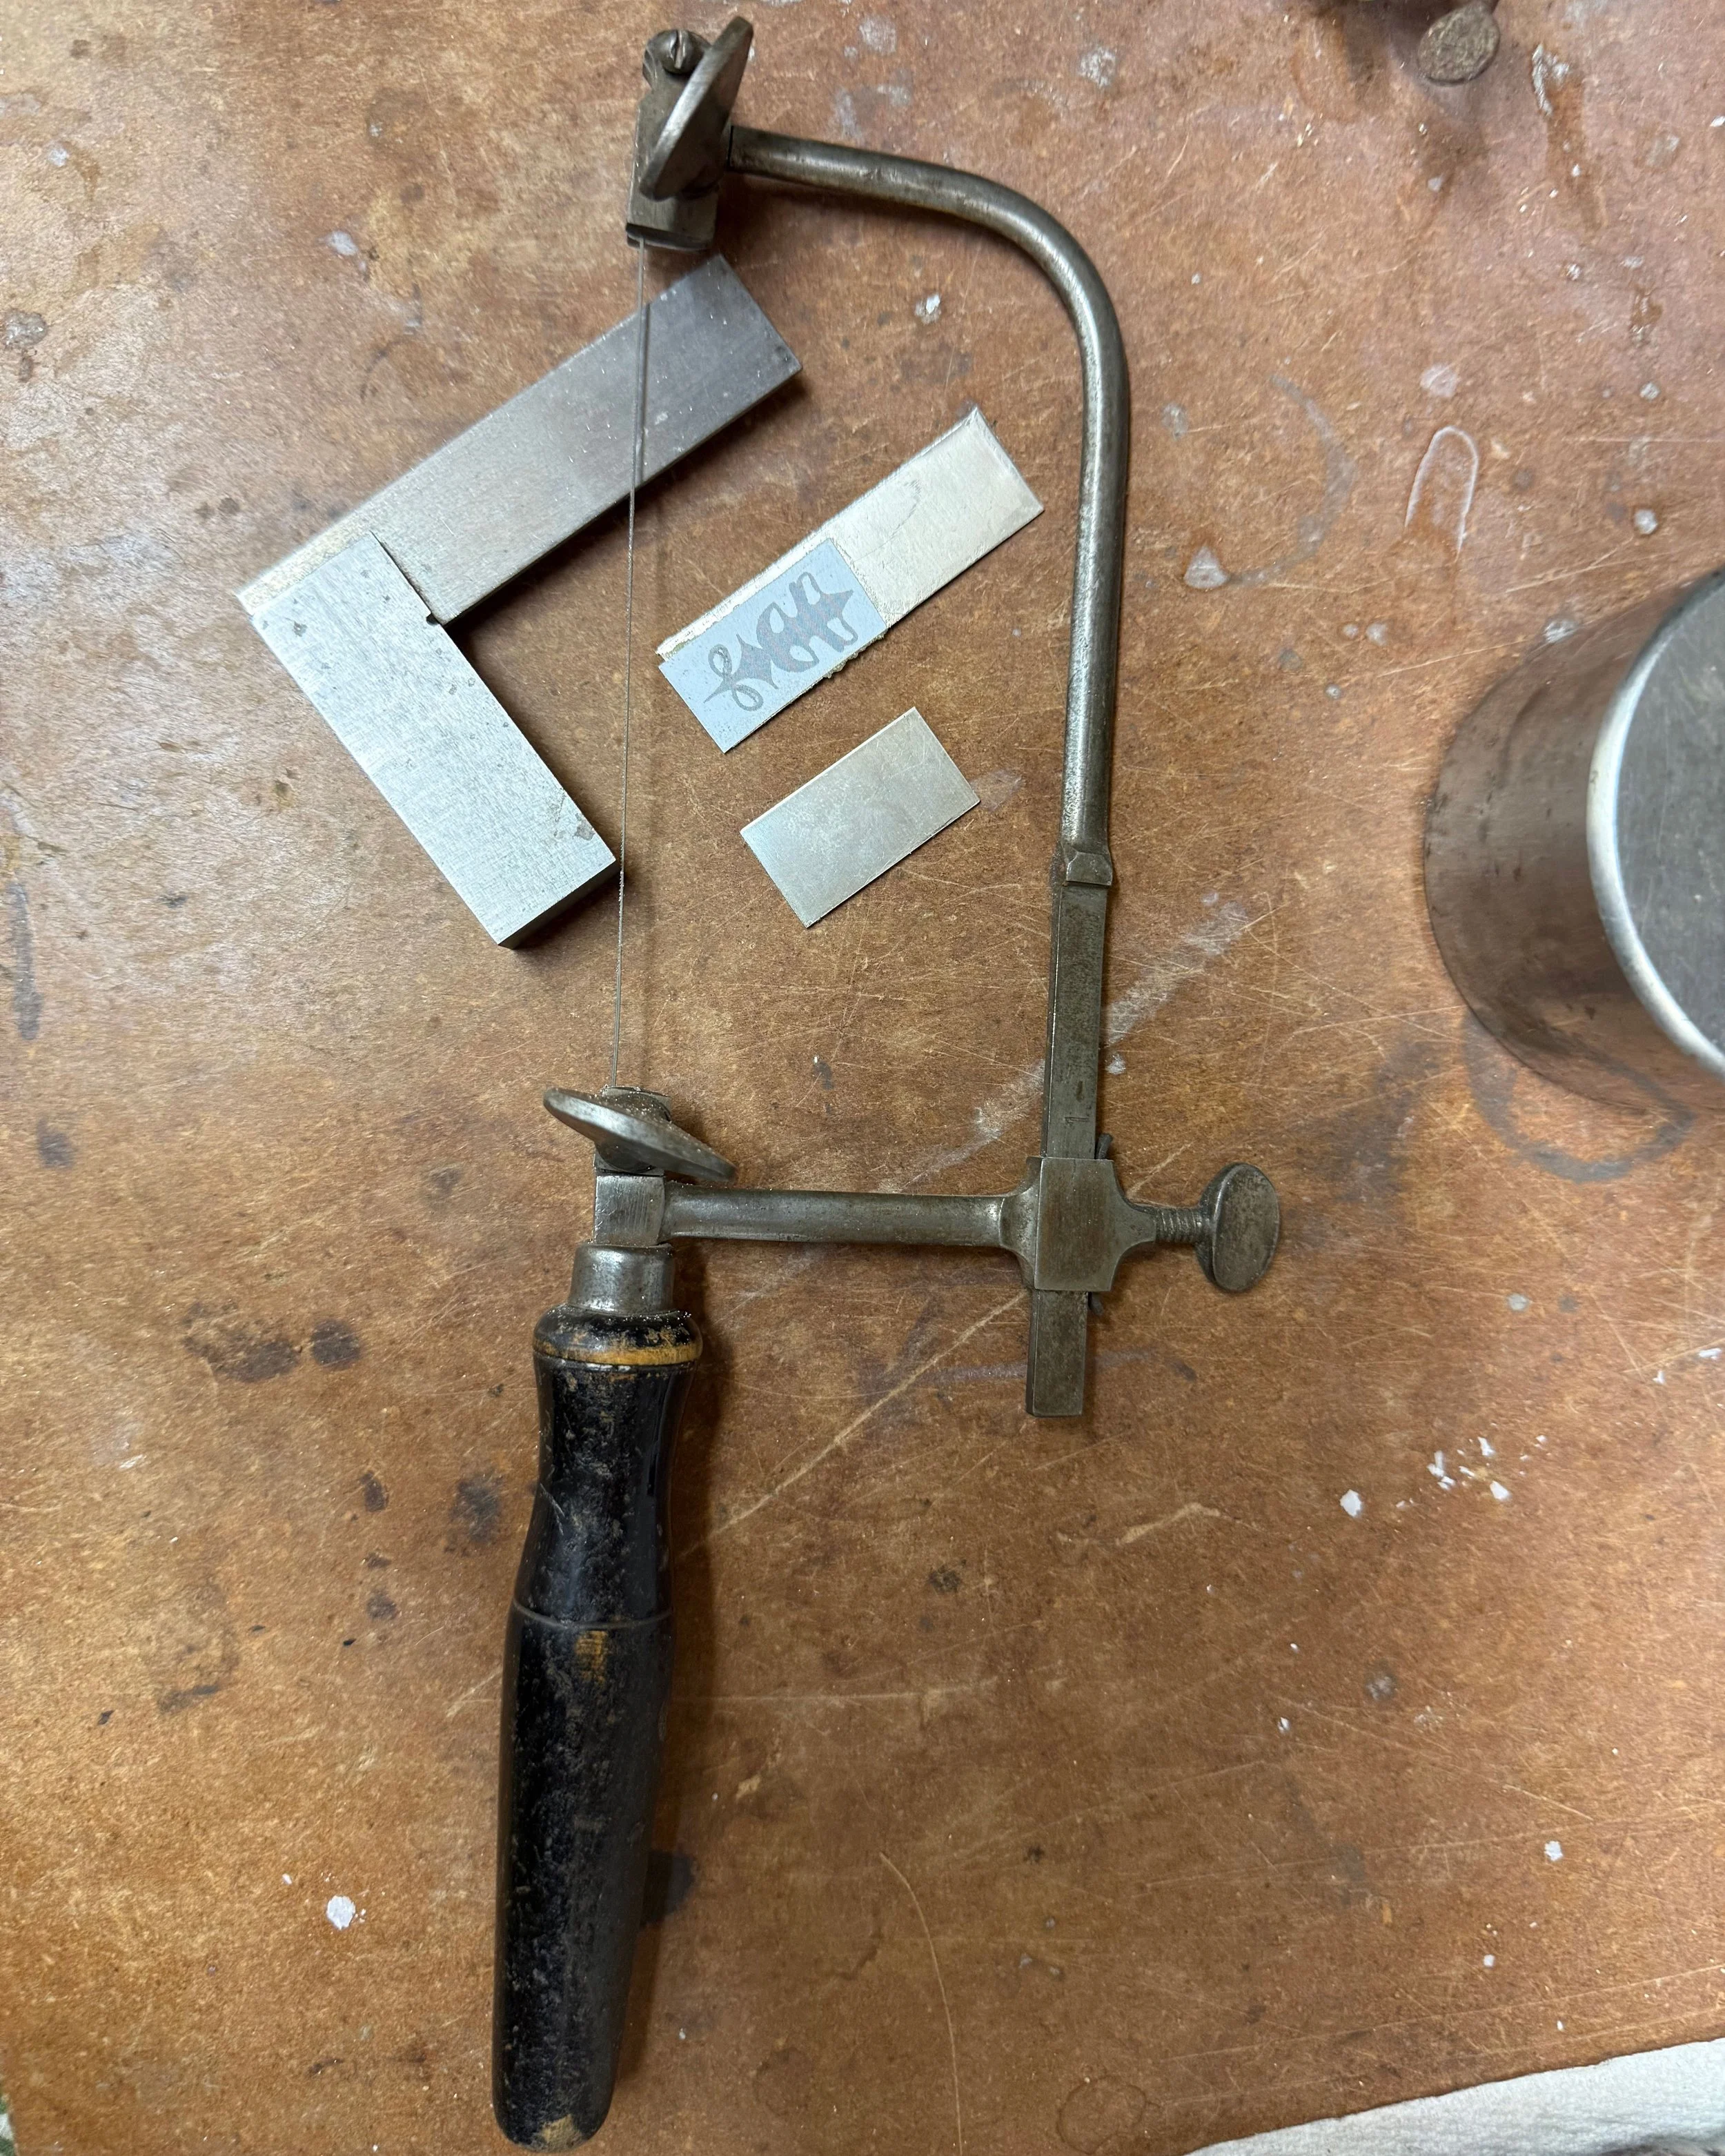
Ready to saw out the design!
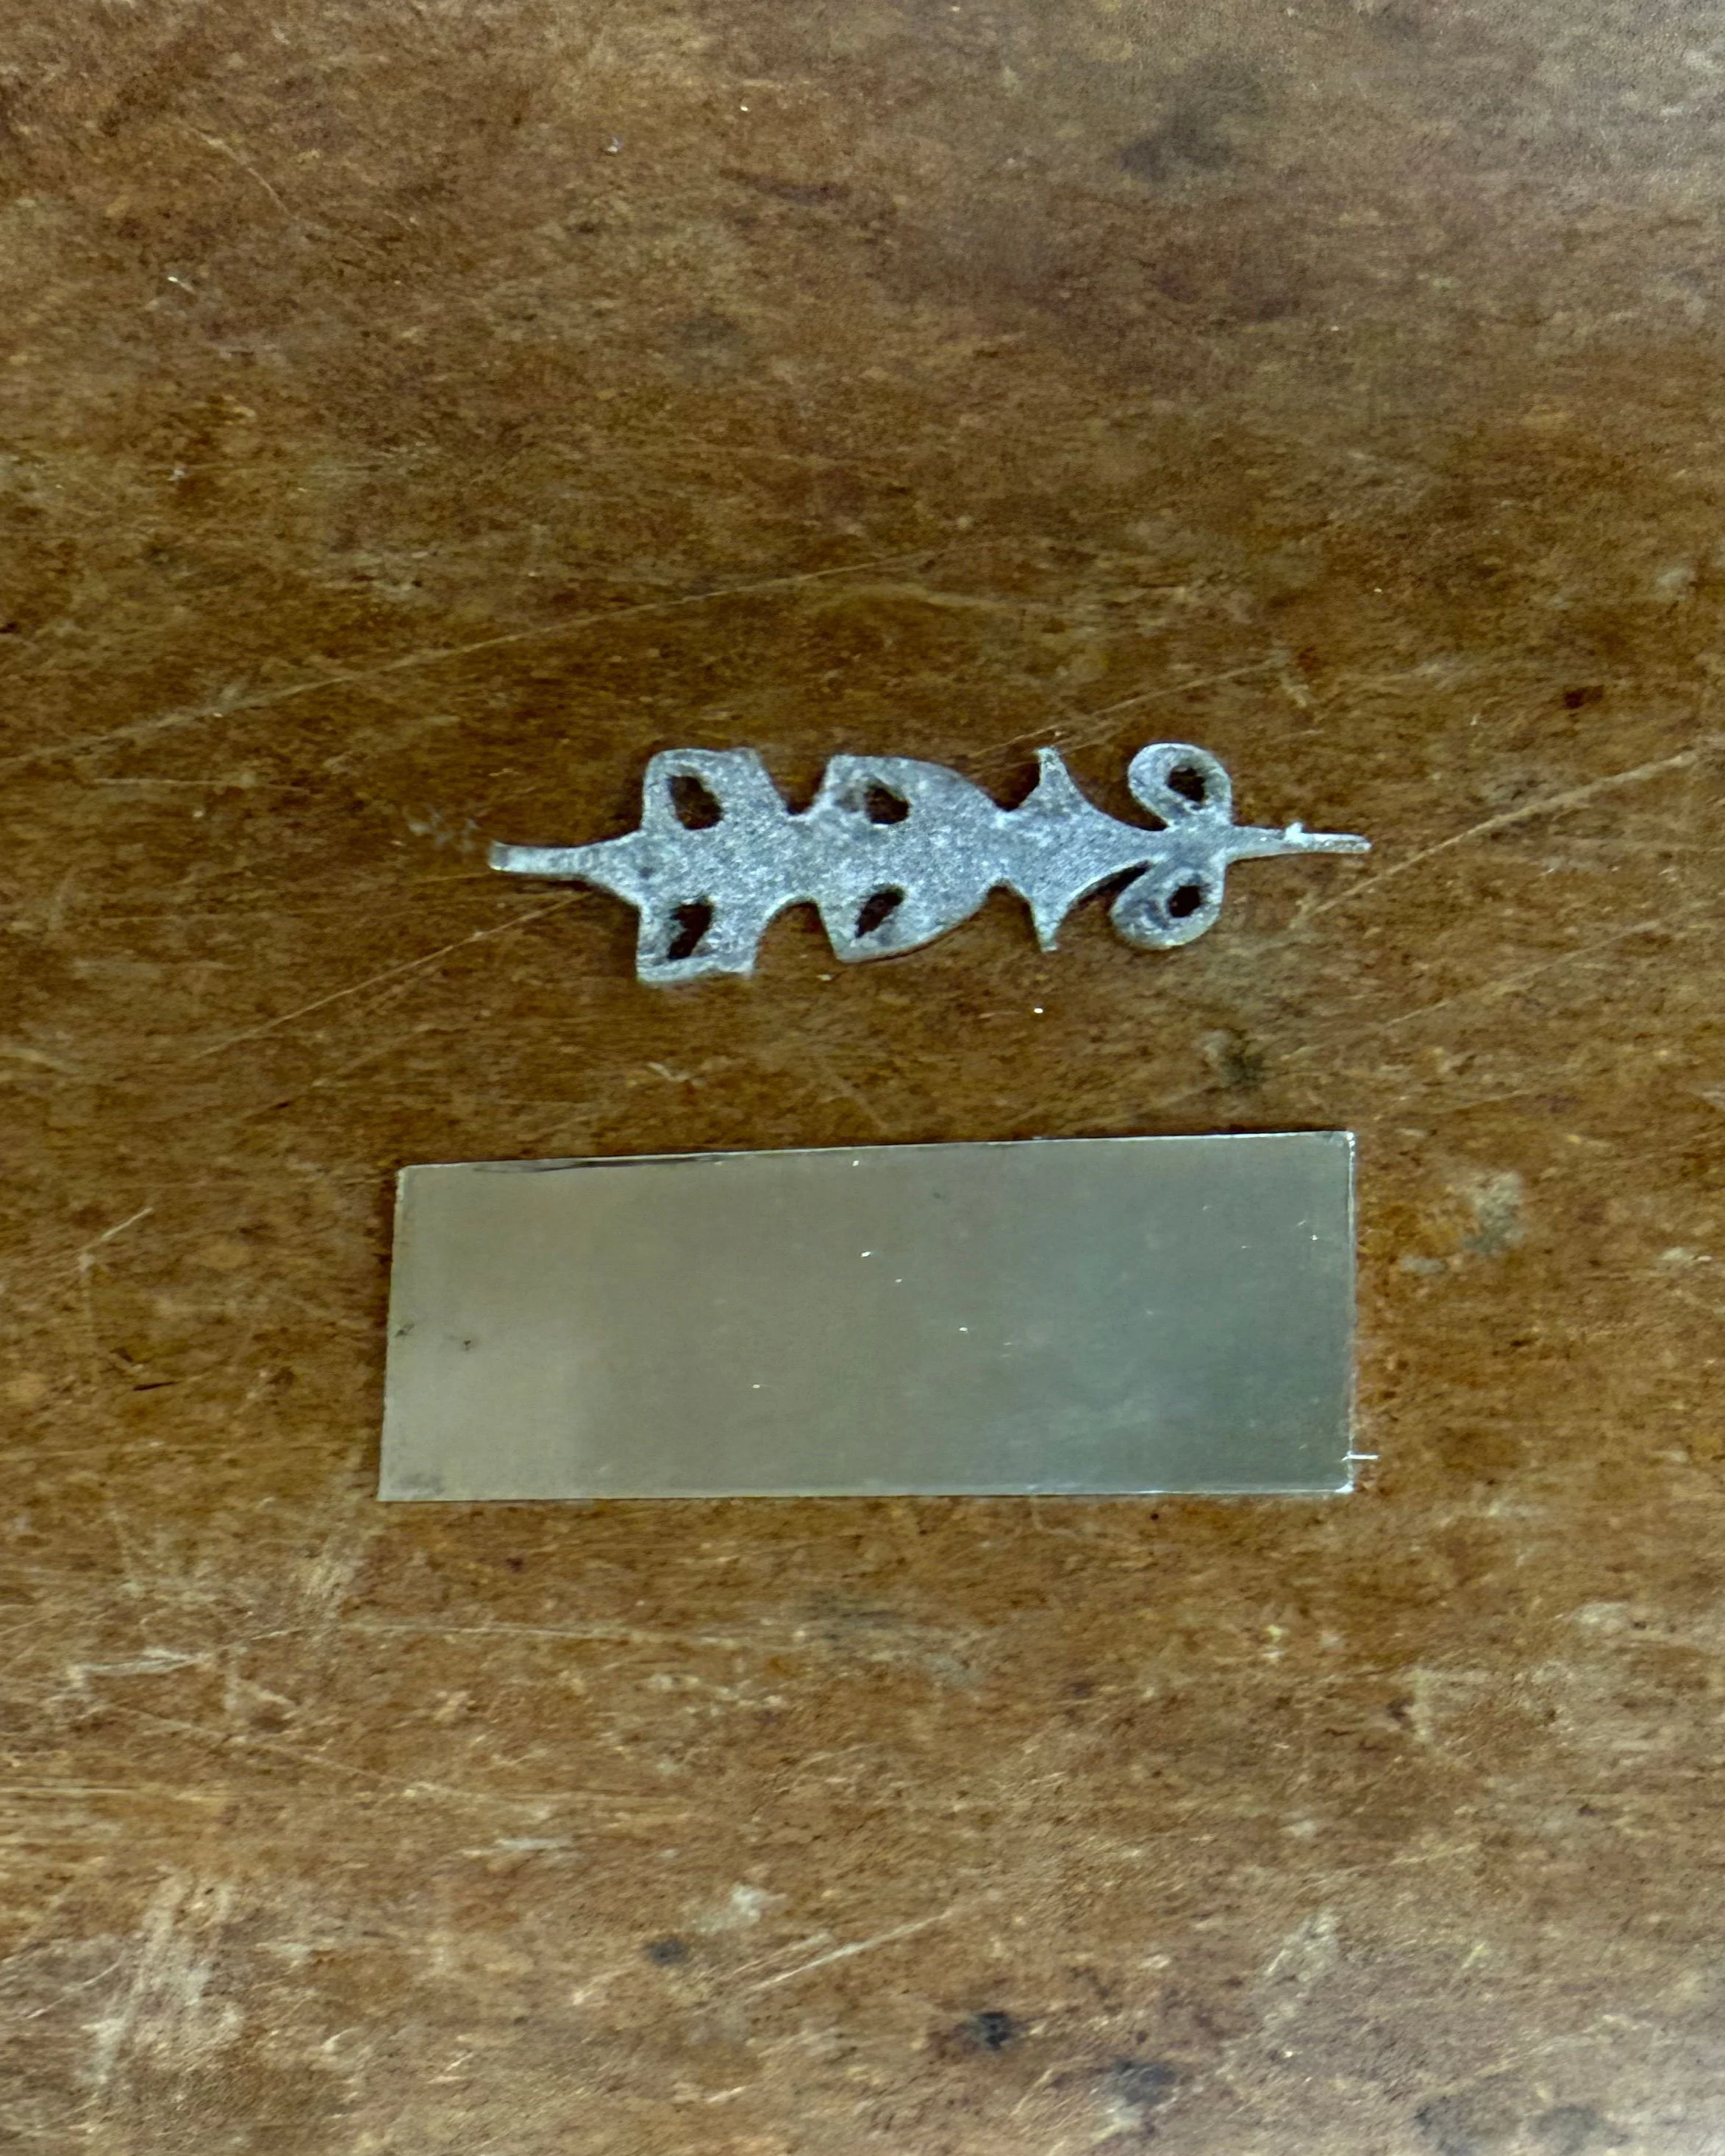
The piece cut out with paper attached and the backing piece.
Behind the Scenes Part 7: Soldering, Polishing, and Finishing
There is a little more prep needed before I can solder the design to a backing. I need to stamp the back of the flat metal backing plate with my maker’s mark (aka hallmark) and the metal purity stamp. This is done before soldering on the design so that the force of the hammer blow to the steel stamp doesn’t press through the metal into the design. I also polish the back plate as it will be difficult to get into the nooks and crannies of the design once it’s soldered onto the back plate.
A side note about the purity stamp: Sterling silver is stamped 925 and means the piece contains 92.5% pure silver, and the remaining 7.5% is typically copper or another strengthening metal. A stamp of ‘940’ means the metal is Argentium® silver and contains 94.0% pure silver, 1-1.2% germanium, and the balance is copper. The germanium forms a protective layer that drastically reduces tarnishing.
Next comes soldering. This is a bit tricky due to the narrow parts of the design. In order for the solder to flow, the two parts must be at the same temperature. It is very easy to apply too much heat to the smaller, more intricate part and melt it and completely ruining the piece! To reduce the chance of that happening, I use a technique called sweat soldering: I melt the solder to the back of the design before attaching it to the backing. I have to then wire the design to the backing as it could shift when the solder flows. It’s only necessary to heat the backing and the pre-applied solder, applying very little direct heat to the intricate design part. Lastly, I soldered on a premade bail and voila! The hard part is done! Unfortunately, I was a little busy soldering and couldn’t catch a photo. I’ll try to get one in the next series: Lost Wax Casting.
I use silicone wheels and discs on my hand-held flex shaft to polish the piece. After a final buff with a polishing cloth, I add a chain and the pendant is done! Below is a brief clip of polishing with a silicone wheel.
Polishing with a fine silicon wheel.
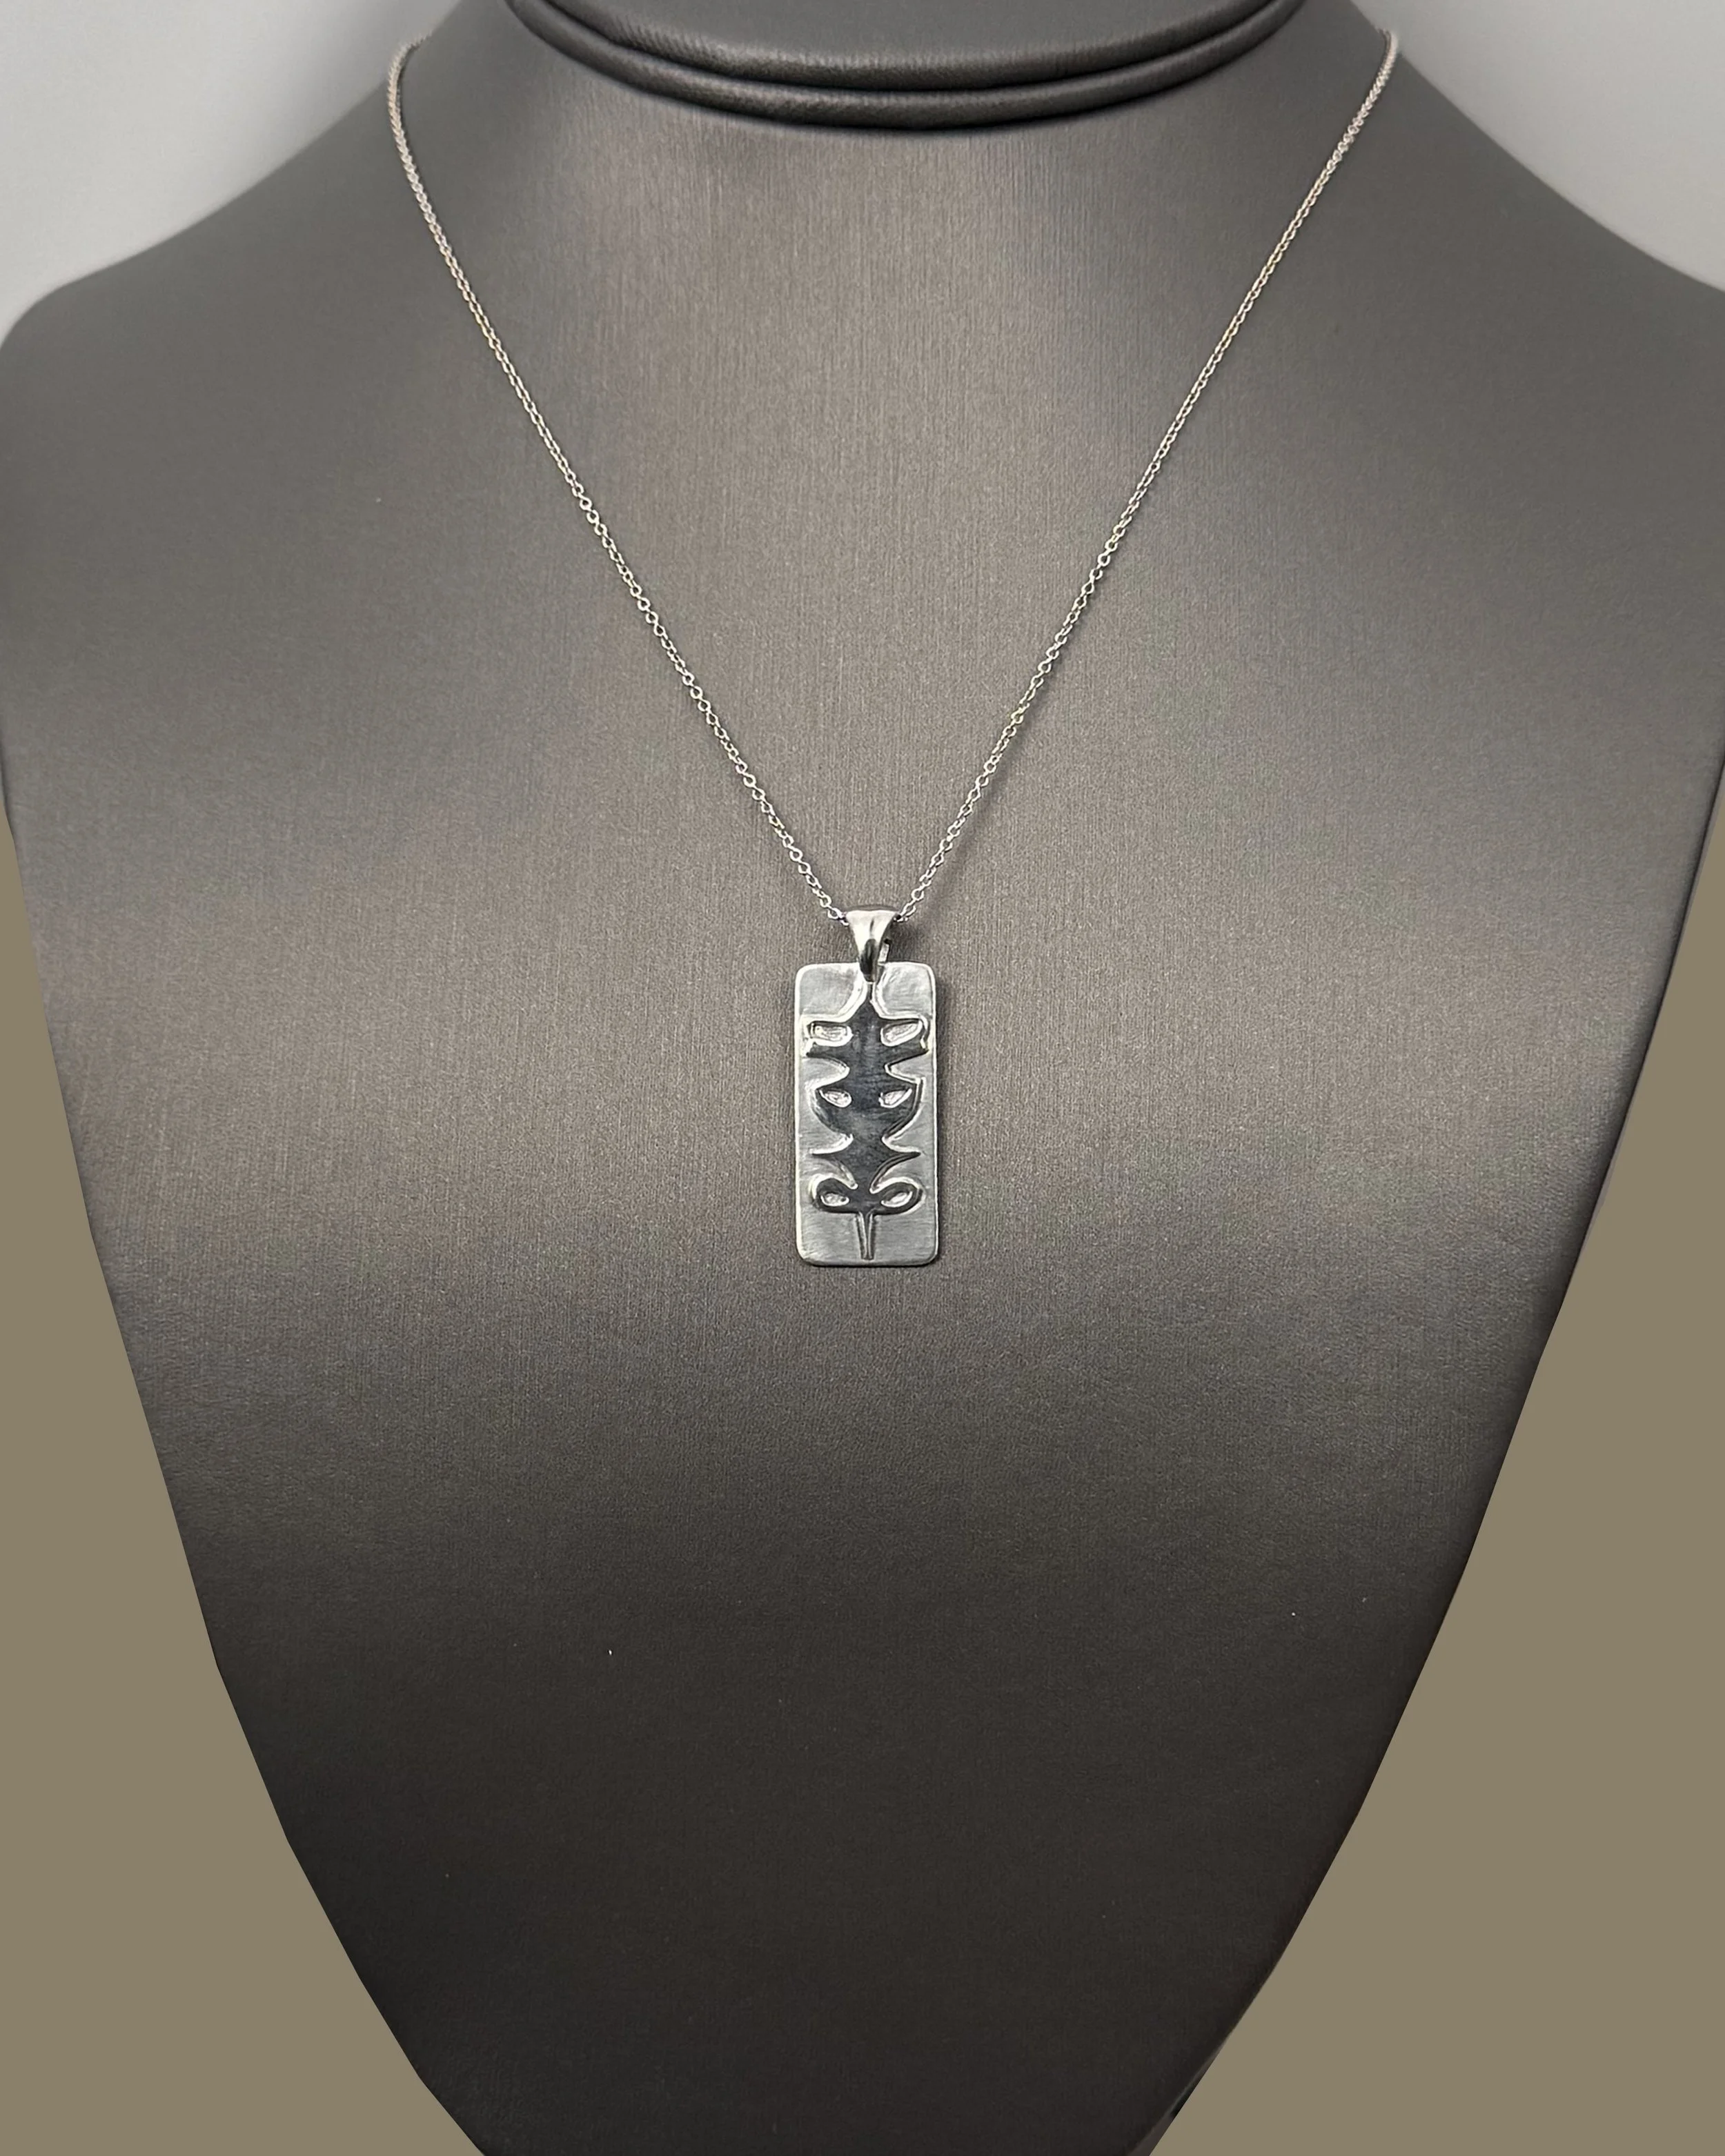
The finished hand fabricated piece! Now do you see the secret message?
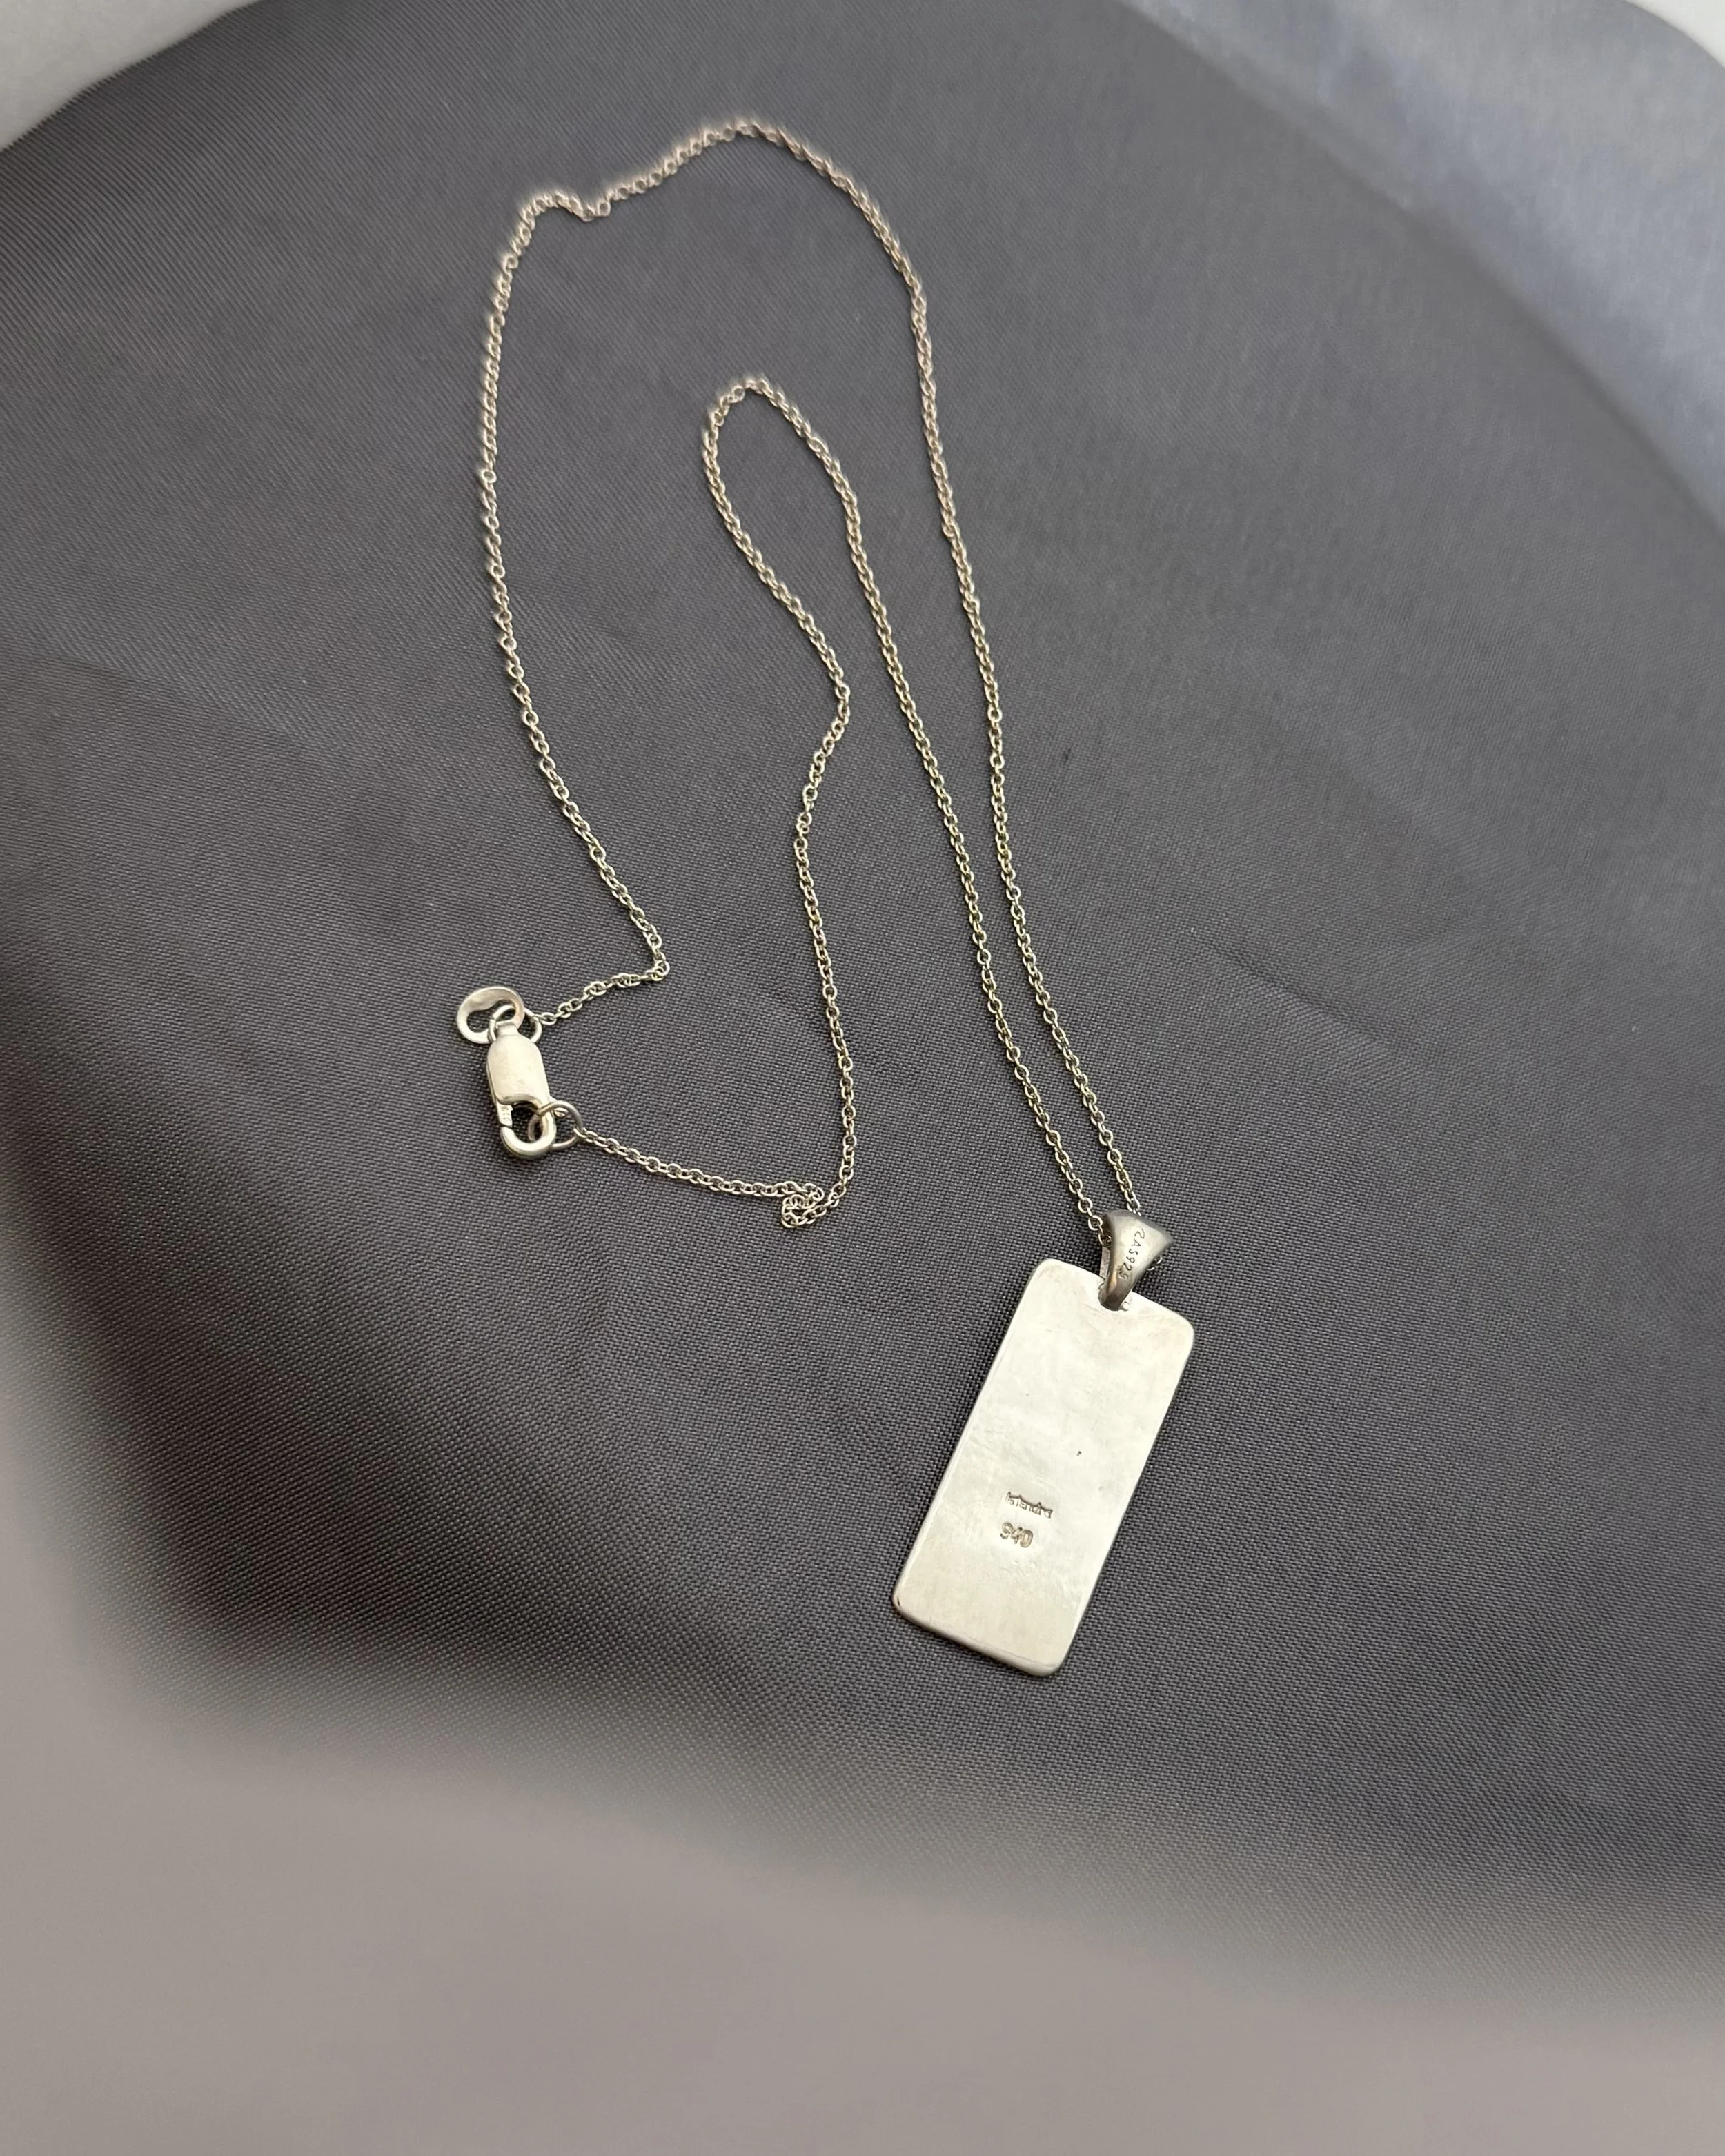
The back with hallmark and metal purity stamps. The piece is complete!