
Jewelry Design Part 1: Where Inspiration begins
Inspiration comes in many forms, and it's always the first step in creating a piece. Sometimes it’s a piece of wood or rock I see in nature, a shadow cast on the sidewalk, or the way light reveals an unusual shape or structure. Other times, it begins with a gemstone that is simply begging to adorn someone. And sometimes, it comes straight from my mind's eye—an out-of-the-blue idea that I try to capture in my sketches.
No matter how it comes to me, I'm always glad when it strikes, because it gives me a starting point—something I can build on as I move into the next phase.
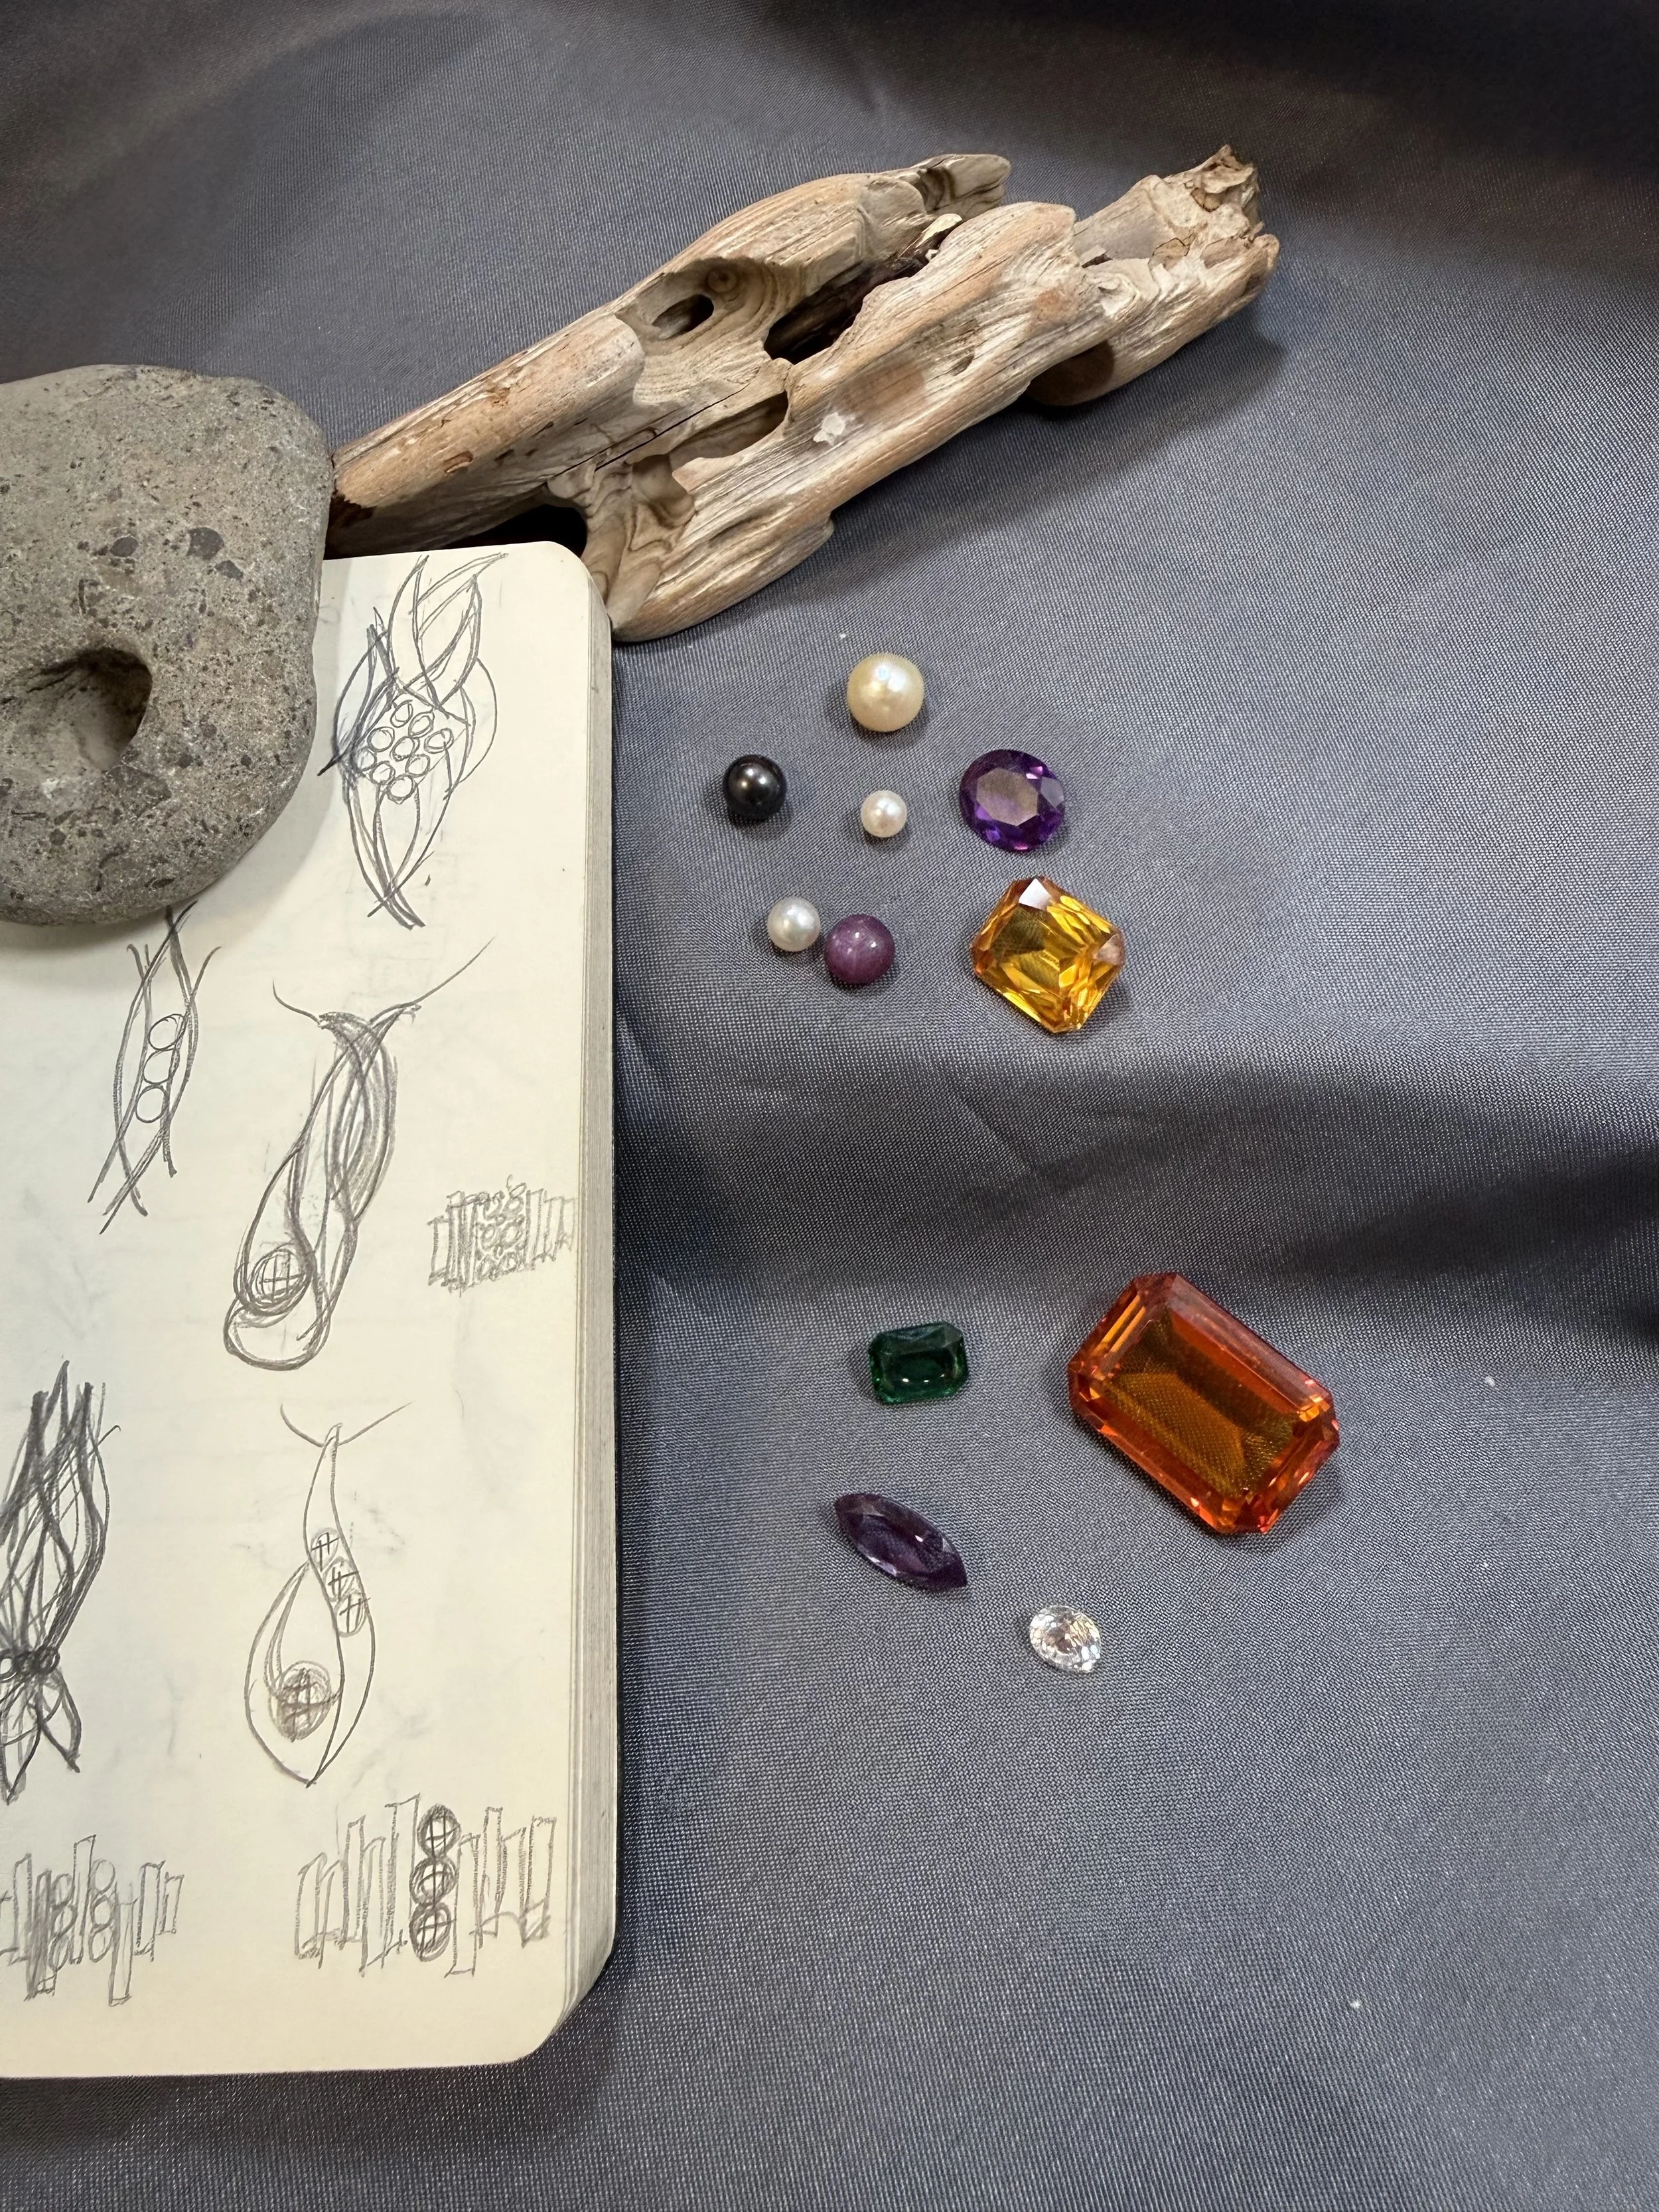
Sources of Inspiration
Jewelry Design Part 2: Initial Design Questions
Designing jewelry may sound straightforward: simply draw it out and make it. However, there are many considerations to explore at this stage. Is it going to be a pendant, earrings, or a money clip? Will it feature gemstones, pearls, or diamonds? Which metal will I use, and how will it be formed—carved from wax, or fabricated directly from sheet metal and wire?
These questions are essential because every element has to work together, especially when it comes to durability. Not only do the gemstones need to complement each other, but they also need to be appropriate for the piece being made. Jewelry worn only on special occasions allows for more leeway, accommodating elaborate settings or more delicate gemstones. By contrast, a ring intended for daily wear shouldn't catch on clothing or feature a gemstone sensitive to household chemicals or scratches. Earrings need to be lightweight enough to wear comfortably all day.
Only once all of these factors are balanced do I begin bringing the piece into three dimensions.
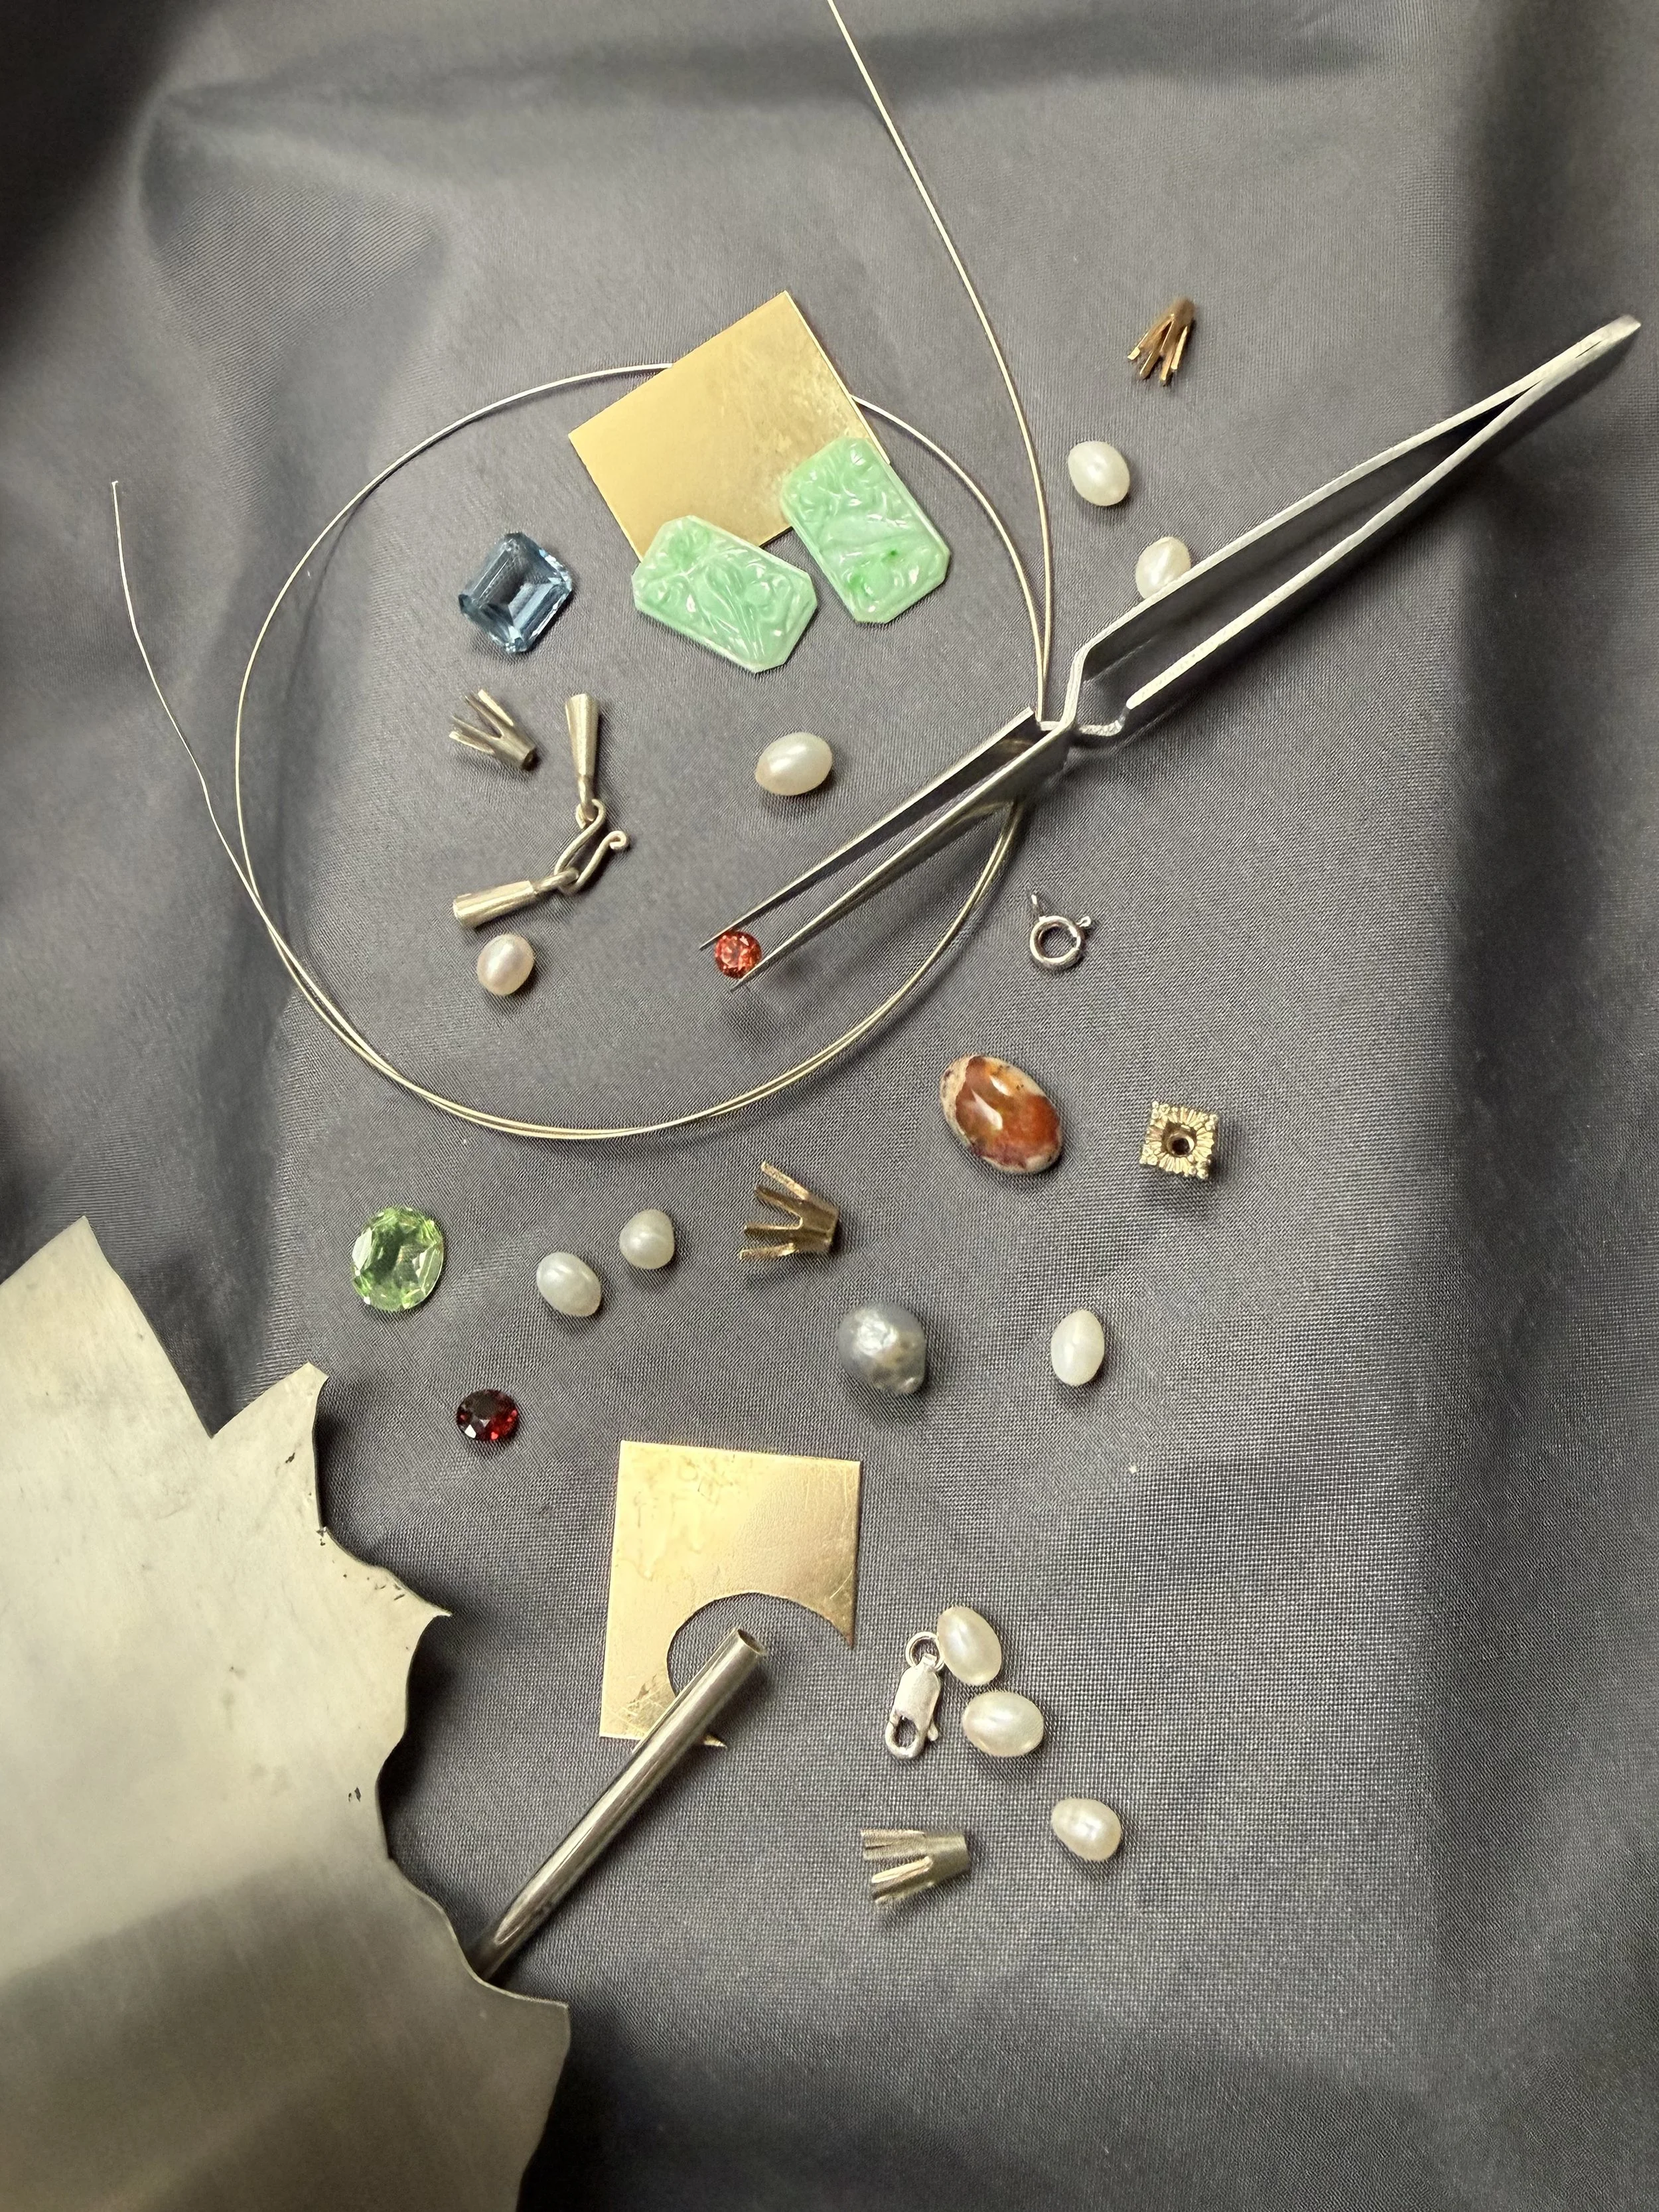
Metals, Gems, Shapes, Forms
Jewelry Design Part 3: Design Prep
Once the initial questions are answered, it's time to get down to the technical prep work before any physical construction begins.
The gemstones must be precisely measured, and the type of setting determined upfront. Certain stones naturally lean toward specific settings:
Translucent stones typically require an open-backed setting so light can pass through and illuminate the gem.
Opaque stones are often cut as cabochons. Unless the back of the stone features a unique matrix or pattern worth showing off, these are usually set with a closed back.
While there are many standard setting styles to choose from, working with methods like lost-wax casting gives me the freedom to design the piece itself to act as the setting, holding the stone securely within the form.
Taking the time to measure accurately and plan these setting details at the prep stage ensures every element fits flawlessly once metal meet stone.
Jewelry Design Part 4: Drawing the Design
Now comes the moment to start physically designing the piece!
I usually begin on paper—it’s quick, tactile, and easy to adjust as ideas flow. I often fill an entire page with variations of a single concept, tweaking curves, proportions, and details until I land on the one design that truly speaks to me.
When creating a custom piece, the process becomes a collaboration. I start by learning what the recipient loves, then sketch several distinct options to offer them choices. During these early design iterations, gemstones can be added, swapped, or removed, and the overall form can evolve into something quite different from the initial concept. It is a wonderfully fluid, creative process!
Once the final sketch is chosen, the blueprints are locked in, and it's time to take the design off the page and onto the bench.
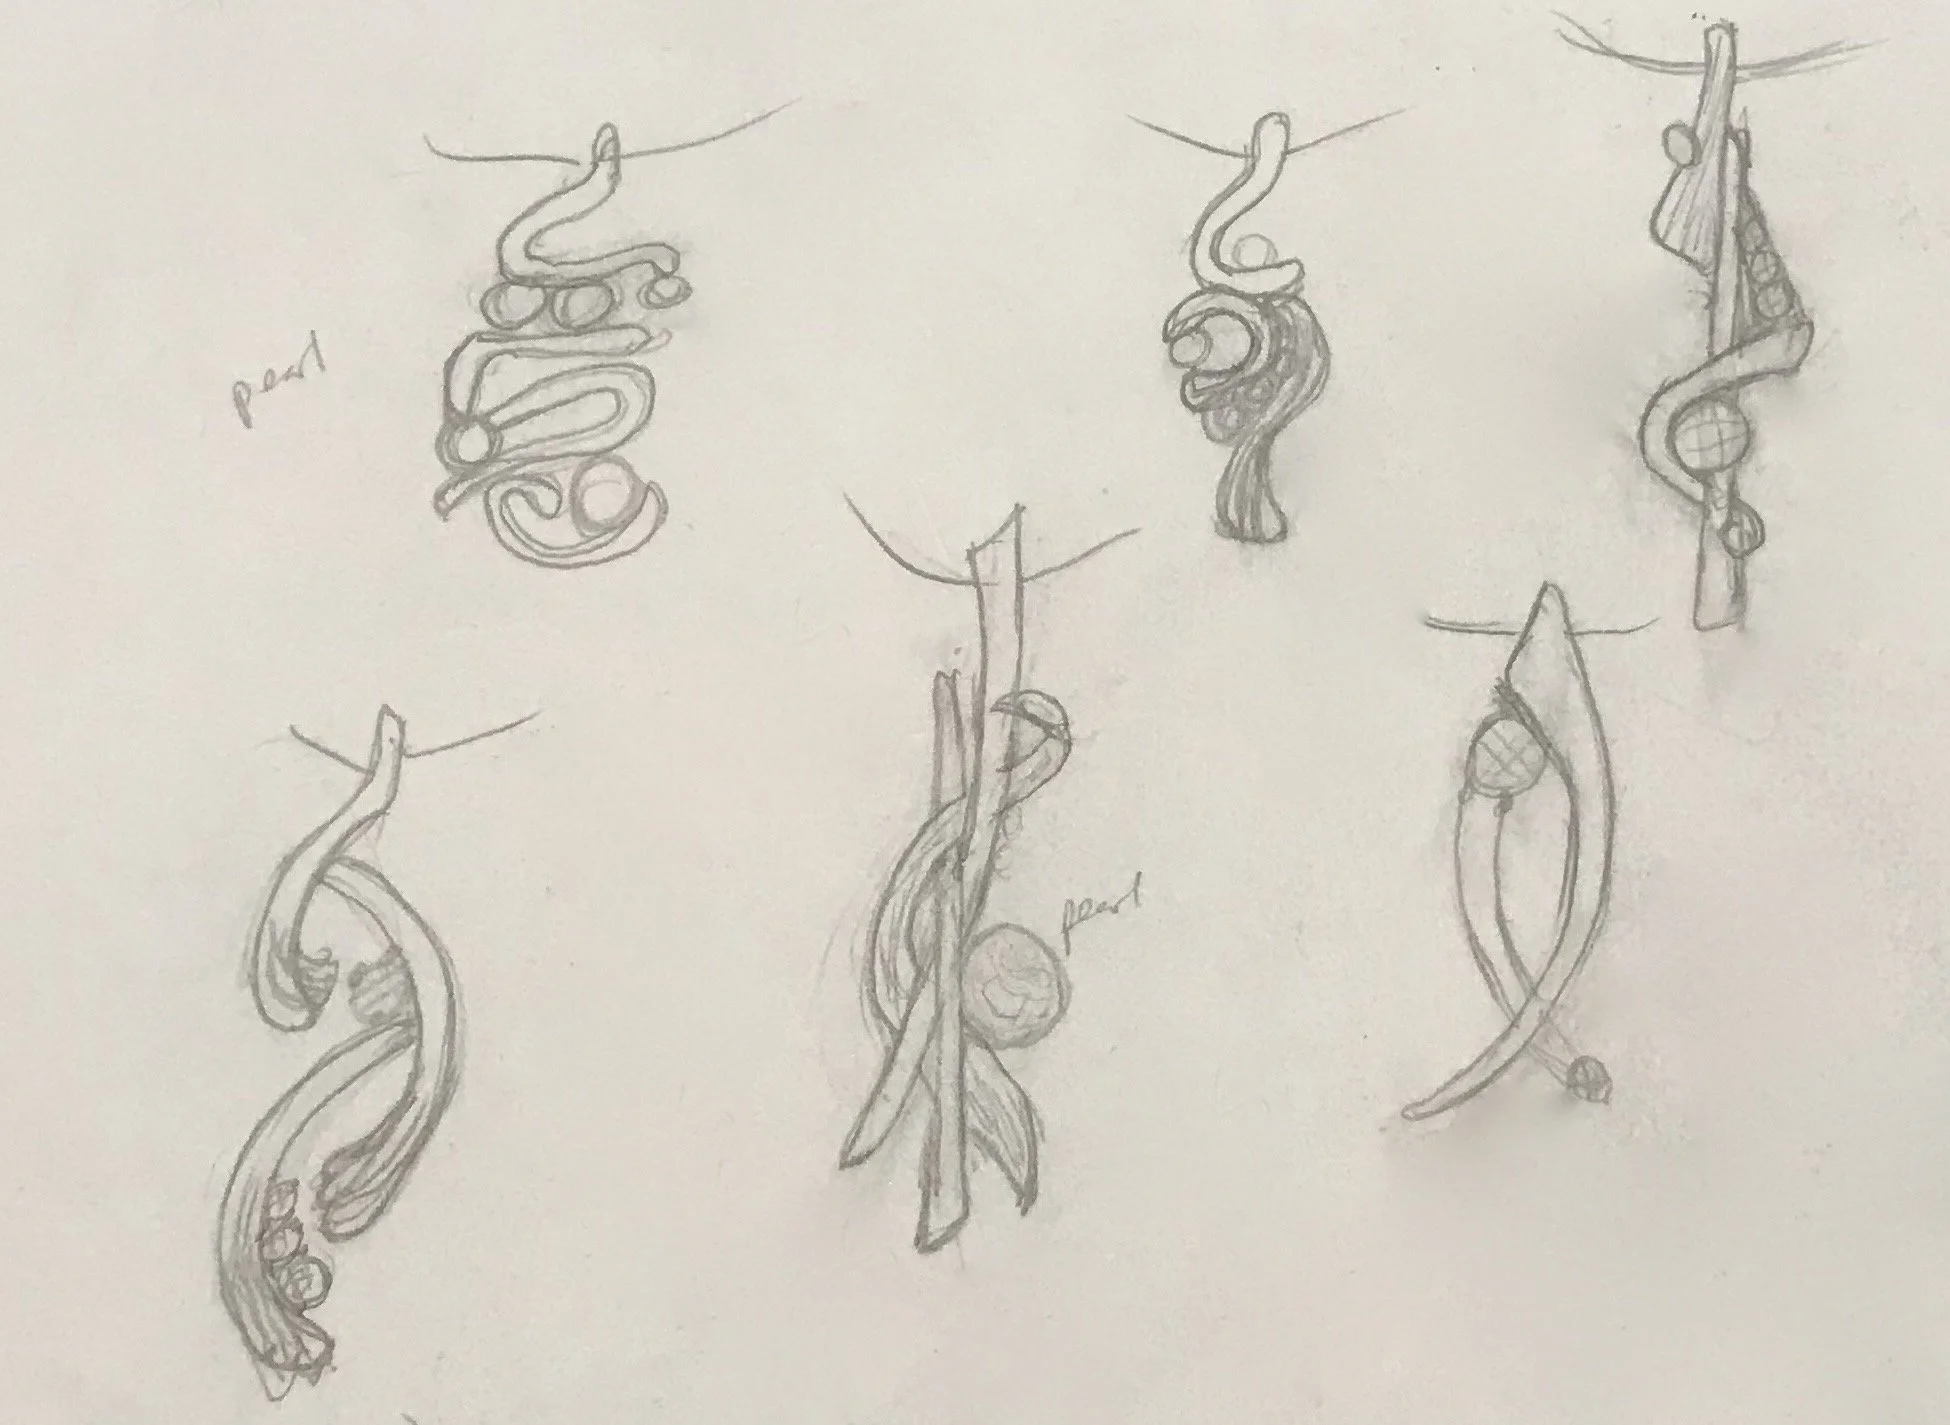
Designs