Behind the Scenes: Lost Wax Casting
Lost Wax Casting Part 1: Creating the Piece in Wax
Welcome to the Lost Wax Casting series! Now that our design is finalized, it’s time to bring it to life in three dimensions using wax. Depending on the design, I have a few decisions to make before I start to create the piece in wax. Will I carve a solid block or ring blank, or will I build the piece using melted wax, or a combination of both? Many jewelers carve the pieces from a block of wax, as a sculptor might do from a piece of marble. I prefer to build up the piece by adding wax to create the design. As such, my designs are often fluid and abstract rather than angular and symmetrical. Do I need to build around a metal setting that will be soldered on after casting? Do I need to make that setting in metal? An example is a prong that will hold a faceted stone. I need to ensure the design includes space to fit the prong into the piece after it’s cast as only the wax portion of the model can be included in the casting process.
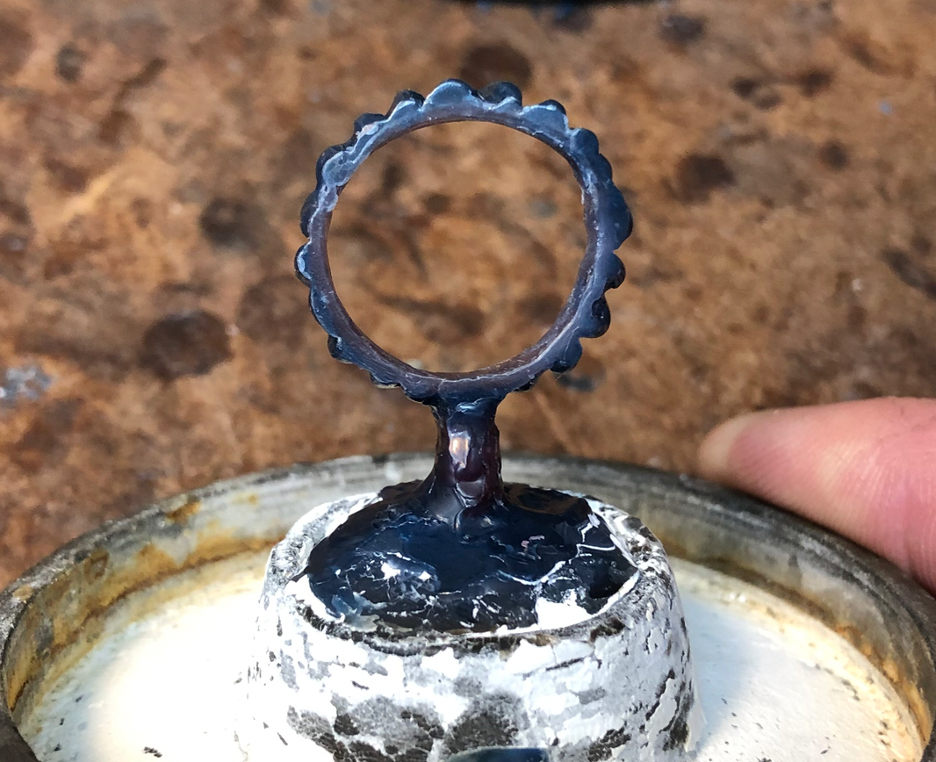
Wax model of ring on a sprue
Lost Wax Casting Part 2: Spruing and Investing
Once the wax model is complete, any stones or premade settings are carefully removed. The wax piece is then weighed—this step is critical because the weight of the wax tells me exactly how much metal will be needed during casting.
Next, the wax model is attached to a main stem, known as a sprue. This sprue forms the channel or pathway through which molten metal will flow to enter and fill the piece.
A metal flask is then placed around the sprued wax tree, and the flask is filled with investment—a heat-resistant, gypsum-based compound similar to plaster of Paris. Once poured, the investment must harden for several hours to create a solid mold around the wax.
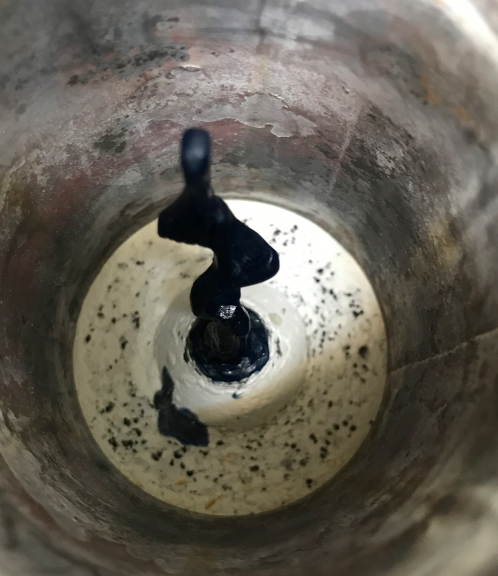
The wax model mounted on its sprue stem, sitting inside the metal flask ready for investment.
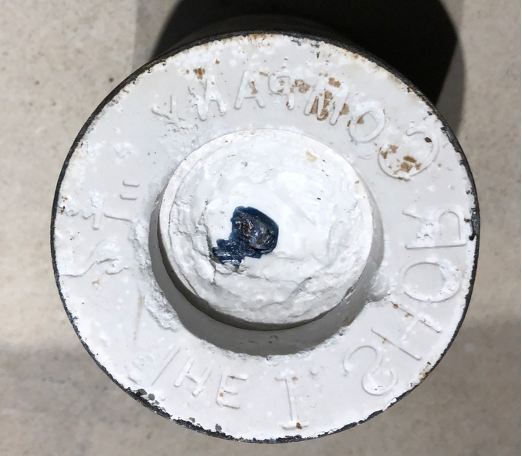
Looking at the flask base after the investment cured, showing the central channel where metal will be poured.
Lost Wax Casting Part 3: The Burnout Phase
What we have now is the wax model completely encased inside a hard block of investment material. Now comes the actual 'lost wax' part of this process!
The metal flask is placed into a burnout oven with the sprue opening facing down. Over a cycle of about 8 hours, the oven heats up to completely burn out every trace of the wax model and bring the investment mold up to casting temperature.
The wax model is gone! In its place is a negative cavity inside the hardened investment that perfectly mirrors the shape of the original piece, with a hollow sprue tube leading right into it.
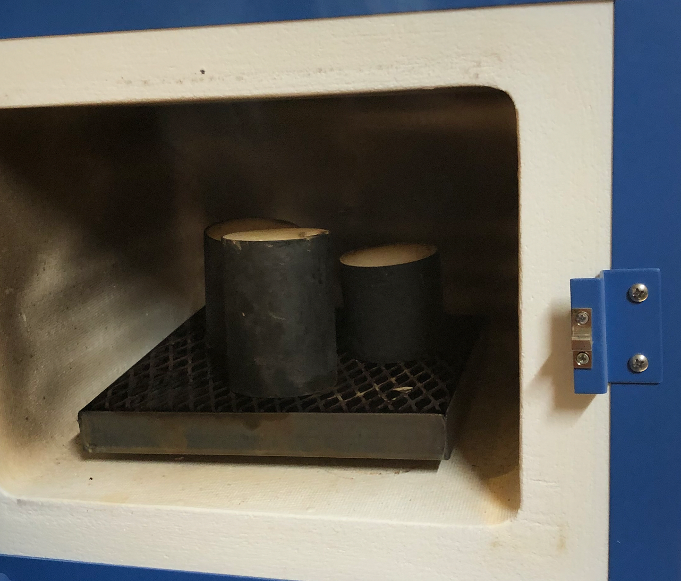
Metal flasks resting upside down inside the burnout oven as the 8-hour heat cycle begins.
Lost Wax Casting Part 4: Casting the Metal
While the burnout phase is happening, I weigh out the metal based upon the exact weight of the original wax model. The computation used to determine the weight depends on the specific gravity of the particular metal.
I heat the metal to its proper casting temperature, and the hot flask is set directly onto the vacuum table. As the molten metal is poured into the opening, the vacuum draws air right through the porous investment, pulling the liquid metal completely into every detail of the cavity to 'cast' the piece.
Alternatively, a centrifugal casting machine can be used for this step. In that setup, the flask sits horizontally, and the metal is melted in a crucible positioned right at the mold's opening. When the metal reaches proper temperature, the machine spins rapidly, thrusting the molten metal into the cavity using centrifugal force.
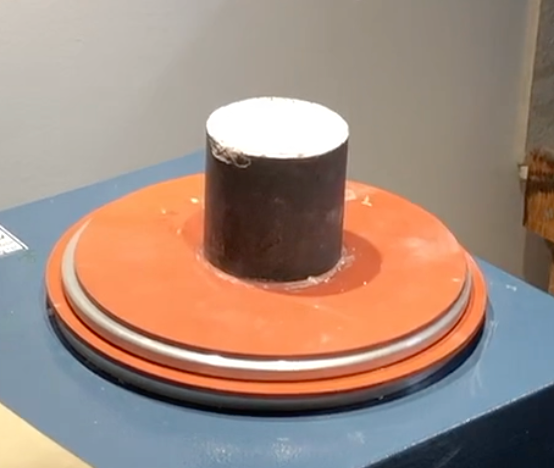
The hot flask transferred from the burnout oven onto the vacuum casting pad, ready for the pour. The opening from the sprue is facing up.
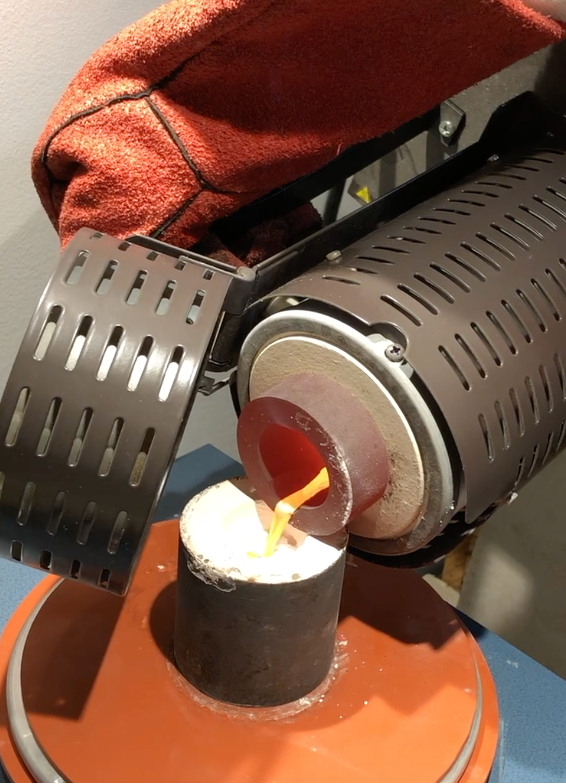
Liquid precious metal pouring directly from the crucible into the flask cavity while the vacuum pulls it into every fine detail.
Lost Wax Casting Part 5:Revealing the Piece
At this point, the newly formed metal piece sits safely hidden inside the hardened block of investment.. Once cooled to the proper quenching temperature, I plunge the hot flask directly into a bucket of water. The thermal shock creates an intense bubbling and sizzling reaction, instantly shattering the plaster-like investment away to reveal the raw metal casting inside.
Right out of the water, it looks pretty terrible with leftover investment clinging to the crevices. Cleaning away the investment, we are still left with a dull and discolored piece. The heavy sprue stem is still attached where the metal entered the mold. It takes a trained eye to look past this crusty, unfinished stage and see the potential hiding underneath.
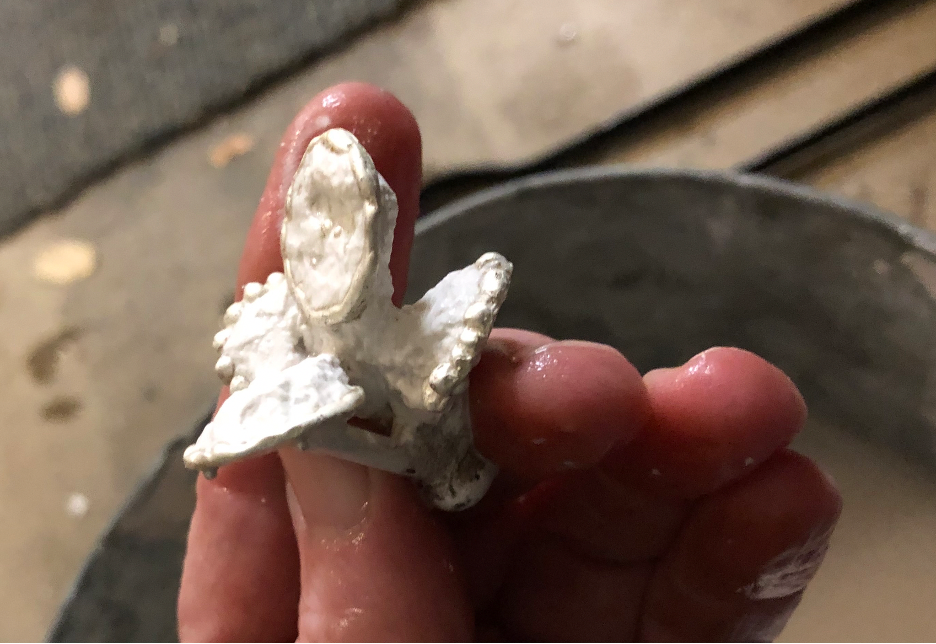
Emerging from the water quench—a raw silver casting of 4 earrings partially covered in breaking investment material.
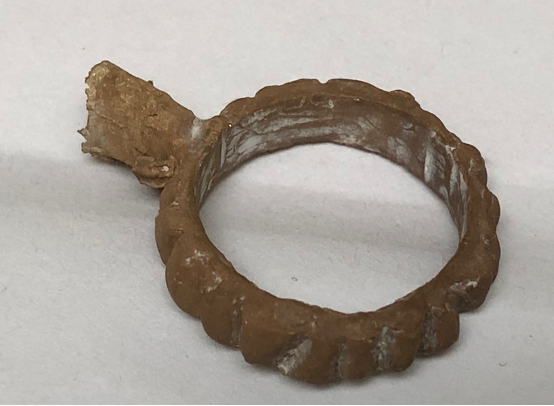
A raw casting freed from investment, featuring the sprue stub that must now be cut away and filed flat.
Lost Wax Casting Part 6: Cleanup, Filing & Finishing
Now begins the bench work to refine the raw casting into a finished piece.
First, I saw off the sprue stem and I work through progressive stages of sanding, filing, and polishing until the surface achieves its final smooth texture and luster. Depending on the design, this is also the stage where I might solder on prongs to hold a gemstone or attach other fabricated metal elements. I hand-stamp the piece with its metal purity mark and my personal studio hallmark.
After all soldering and polishing is complete, I set the stones. One last light polish and perhaps a shot of steam to thoroughly clean and it’s ready to go! From a fluid wax sculpture to a finished piece of precious metal jewelry!
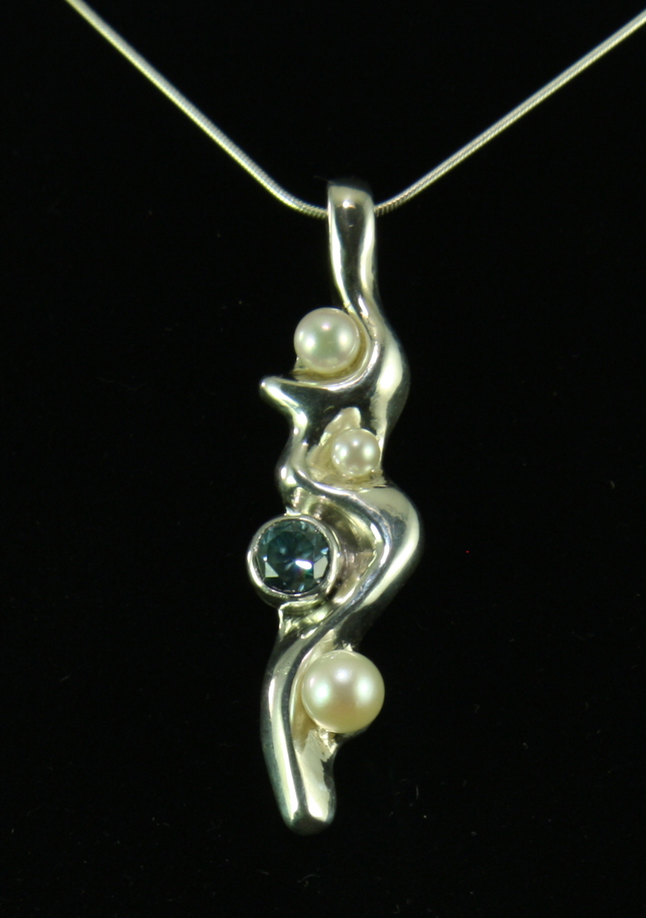
The final cast pendant with zircon and pearls set.